
Wherever you sell online, you can use Shopify’s secure checkout to accept orders and payments. When a consumer buys online, they add things to their shopping cart. Then they go to your checkout to finish their shipping and payment details before completing their transaction. As an eCommerce vendor, having complete control over all aspects of your store’s design is crucial. Your checkout page design should be user-friendly and easy to proceed with. Because it is the most critical factor in deciding your revenue as it guarantees that visitors who arrive at this page will complete their purchase rather than abandon it. The Checkout page on Shopify is an excellent and unexpected example of this. In this article, we will show you how you can Setup Your Checkout Preferences on Shopify.
Setup Checkout Preferences on Shopify
To Setup Your Checkout Preferences on Shopify, you’ll need to know how to adjust your theme’s appearance layout to change the checkout page’s design. You can select a variety of settings for customers checking out that will benefit you.
Let’s walk you through the procedure of How to Setup Shopify Checkout Preferences.
Step 1: To begin, log into your Shopify account.

Step 2: Select Settings from the bottom left of the screen.

Step 3: Click on Checkout from the grid.

Step 3: You will be directed to the Checkout settings page. This is where you may customize your clients’ checkout preferences.
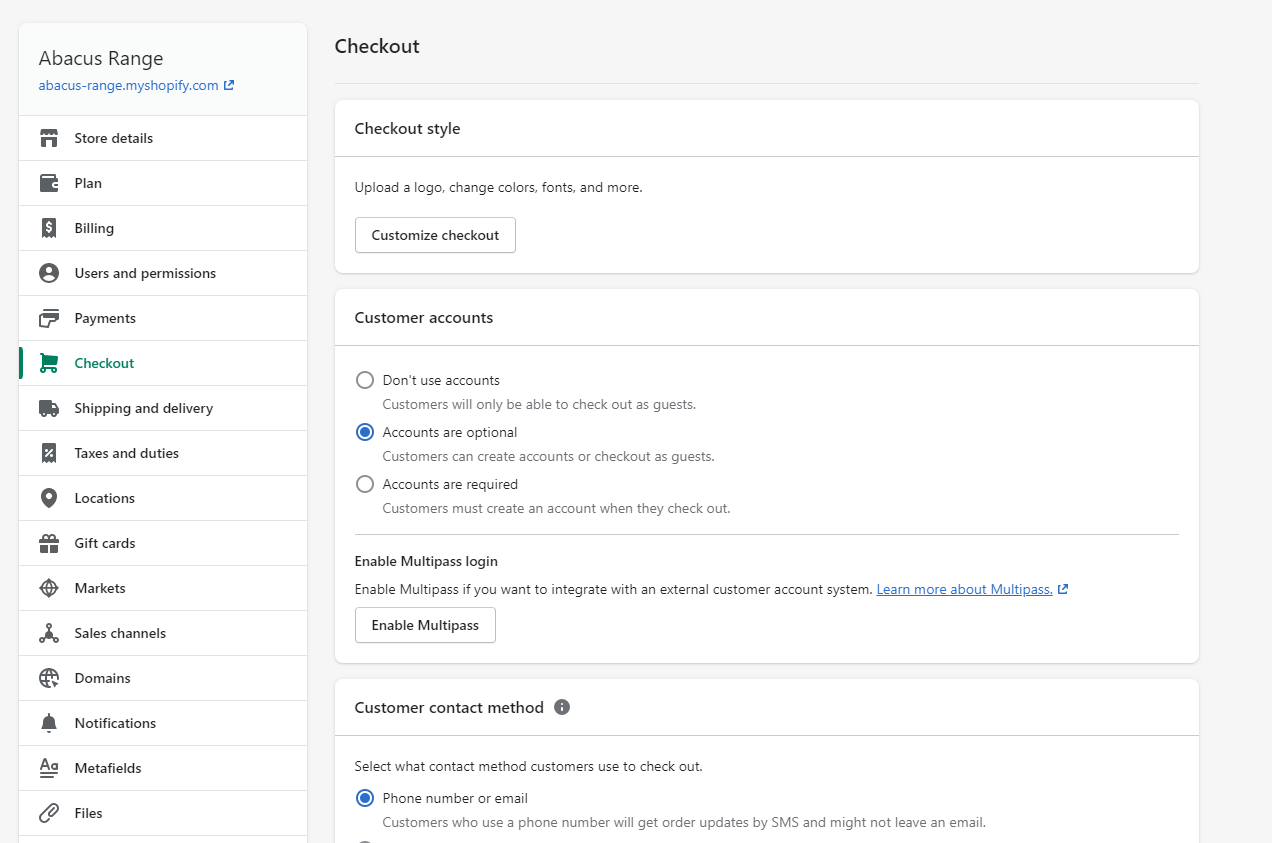
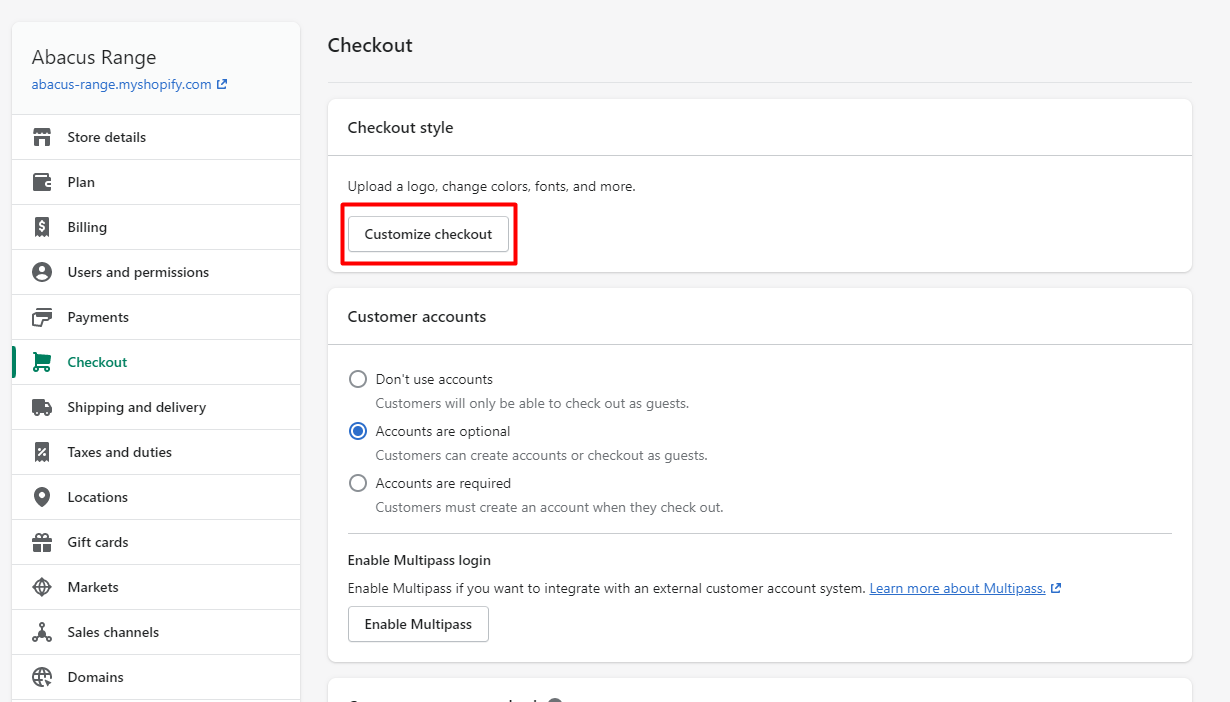
Style is the first option on the checkout settings page. If you sell your products online, you can change the checkout pages’ look under the Style area. With the theme editor, you may change the look of your checkout pages. To make the checkout resemble your business, add your company’s logo, modify the colors, or choose a new typeface.
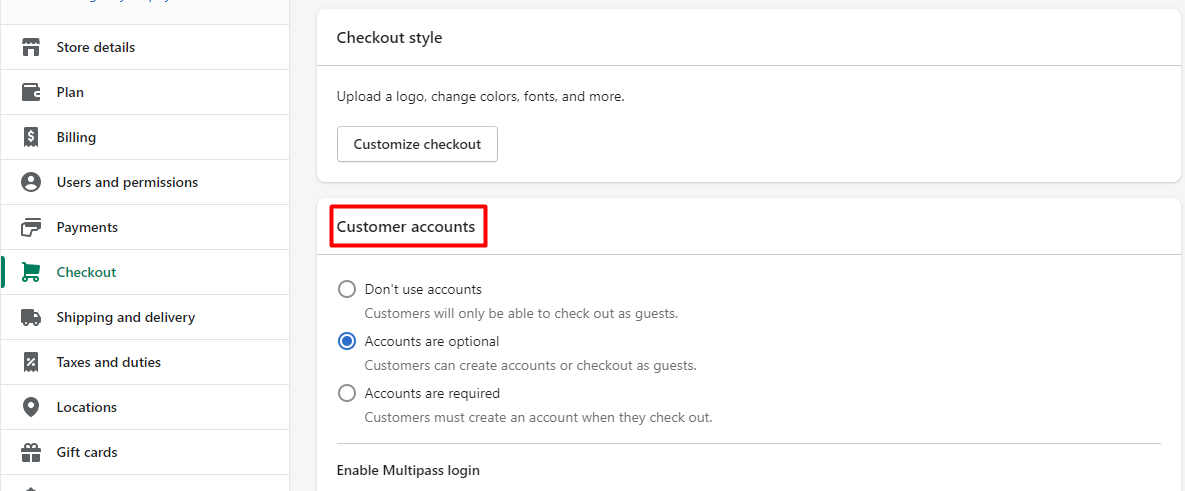
The next checkout option is Customer Account. Customers’ accounts can be made required, optional, or disabled. When customers create an account, they may be led to a different account creation page. Sometimes it discourages buyers if they need to create an account to complete their checkout.
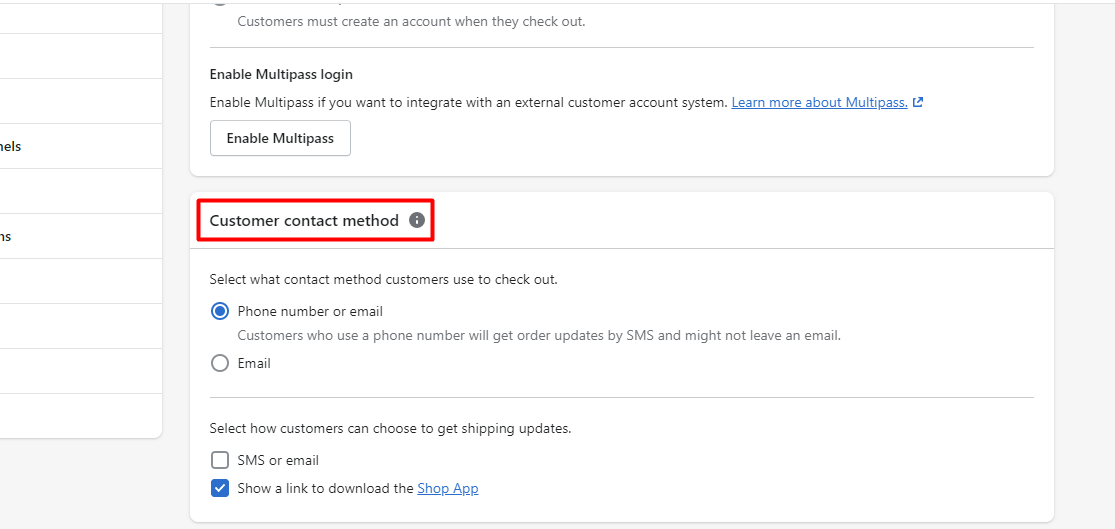
Under the “Customer Contract” option, you can choose which communication methods your customer can use to checkout and receive updates.
Then there’s Form Option, which allows you to make some options on checkout pages mandatory, optional, or hidden.
Some clients prefer not to reveal their phone numbers during online checkout. As a result, if you make it a necessary field, customers may abandon their cart. To complete the checkout process, your payment provider or shipping carrier may require a consumer to supply a phone number.

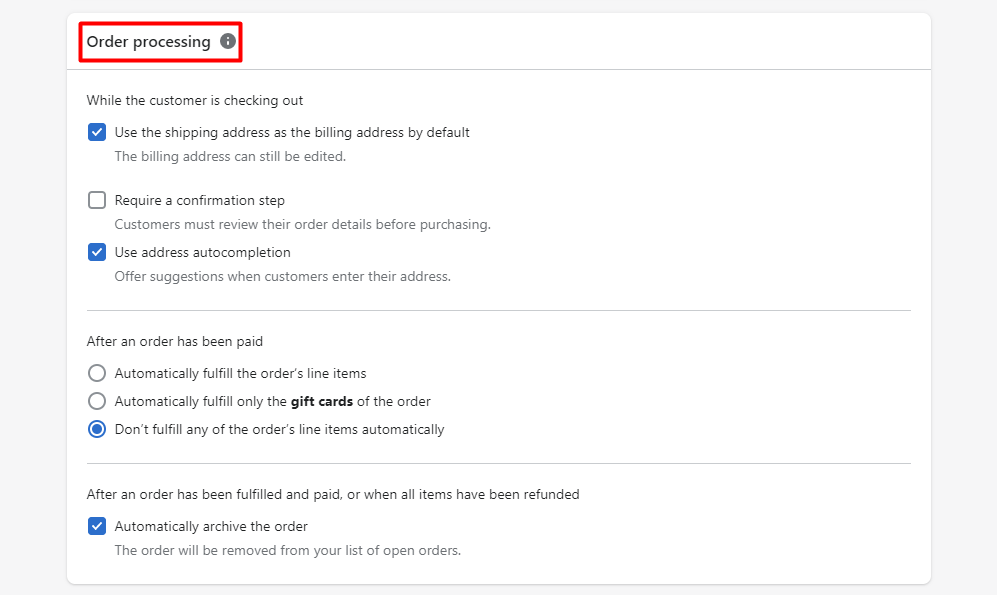
For Order Processing, you can set up automatic or manual fulfillment for orders.
After it comes to Email marketing, you can ask your clients to sign up for marketing emails when they check out. Which are also included in the approved marketing category.

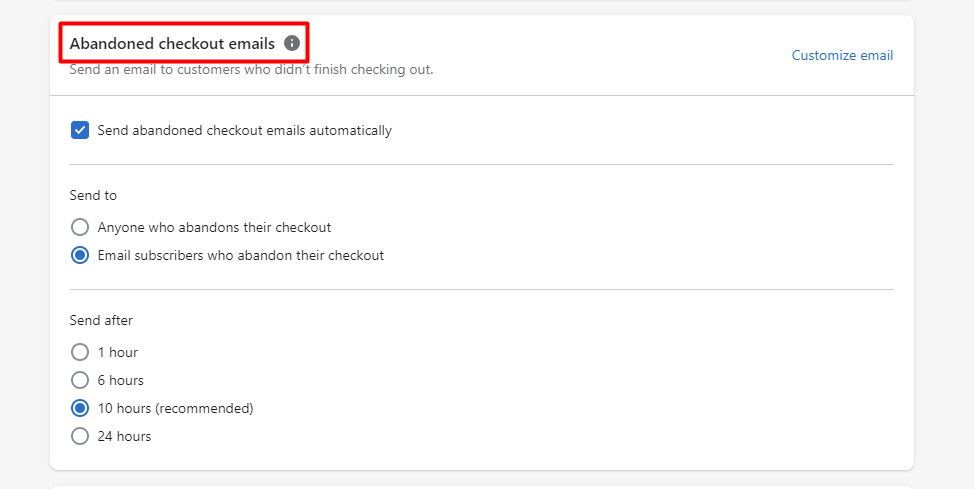
Abandoned Checkout is for sending mail to customers who have abandoned their carts and have not completed their orders and are particularly apprehensive about receiving an email from Checkout.
Checkout language is the last one. From here you can change the language of the checkout page.
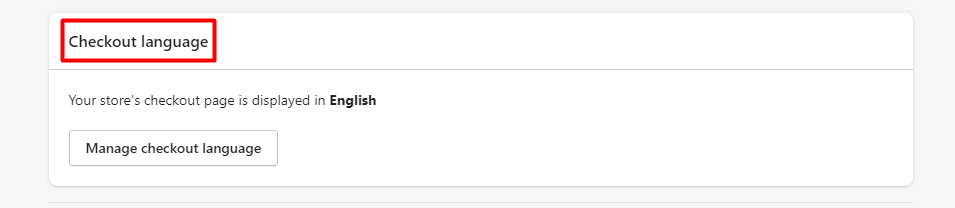
If you have an online store, changing your theme is a simple way to convert Checkout. Some themes offer several language translations, allowing you to personalize the checkout theme editor in a different language.

Step 5: Once you’ve completed all of the preferences settings, click the Save button to confirm your changes.

This is the easiest and entire process of setting up your Shopify store’s checkout options. Checkout pages should encourage customers to fulfill their orders. I hope this article helps set up your Shopify store’s checkout preferences. If you require any additional assistance or suggestions, please do not hesitate to leave a comment in the space below. We are happy to help.