
Faire is a wonderful marketplace which is attracting more and more sellers nowadays. As a B2B marketplace, Faire allows local and independent retailers to connect with brands. The platform allows retailers to discover brands, purchase products online, get free returns on new orders, and also lets retailers try-before-they buy in bulk.
If you’re new to the platform and unsure about how to list your products, you’ve come to the right place. In this guide, we will talk about the process of uploading your first product on Faire.
Step – 1
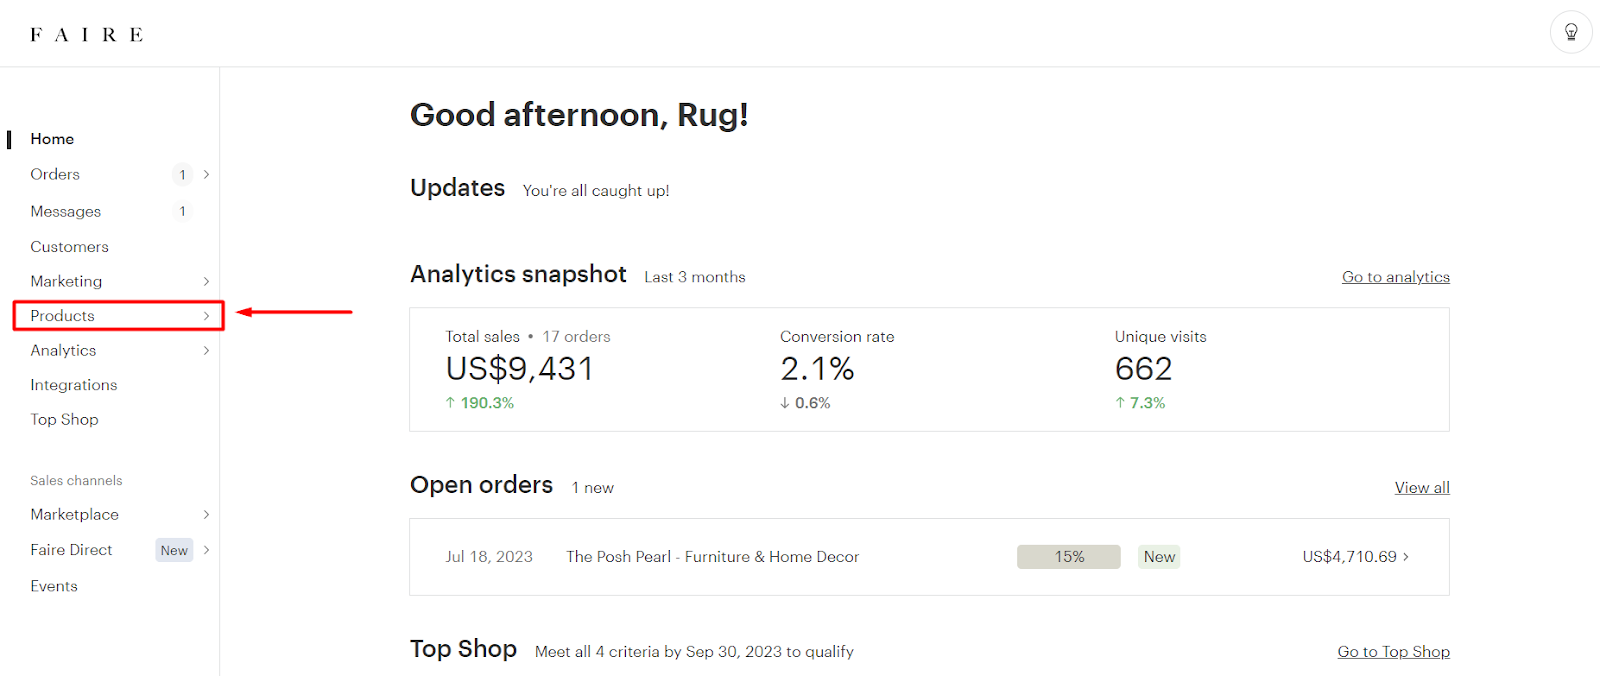
First, log in to your Faire’s seller account. Once you’re logged in, you’ll see the user interface. On the left side, you’ll find a navigation bar with several options. Since we want to add a product, click on the “Products” tab.
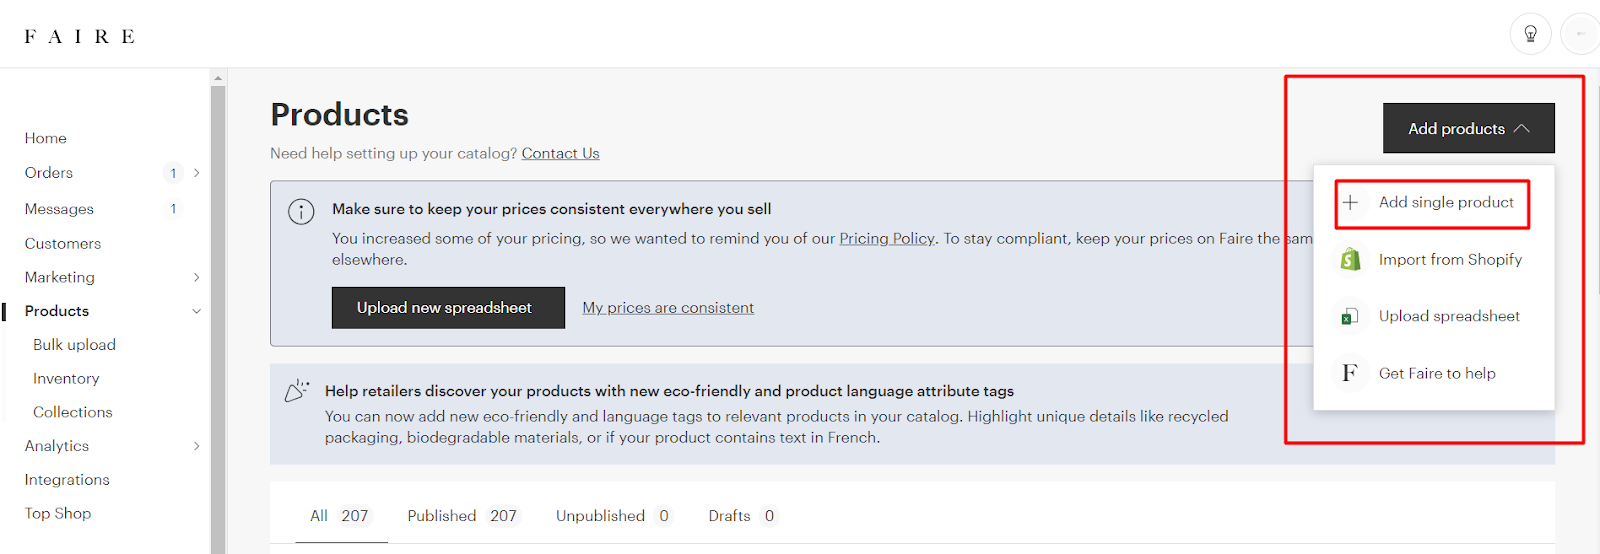
Now, locate the “Add Products” button in the top right-hand corner of the page. You’ll notice that there are four options available:
- Add single product
- Import from Shopify
- Upload spreadsheet
- Get Faire to help
For now, we’ll focus on adding a single product, so click on the first option.
Step-2
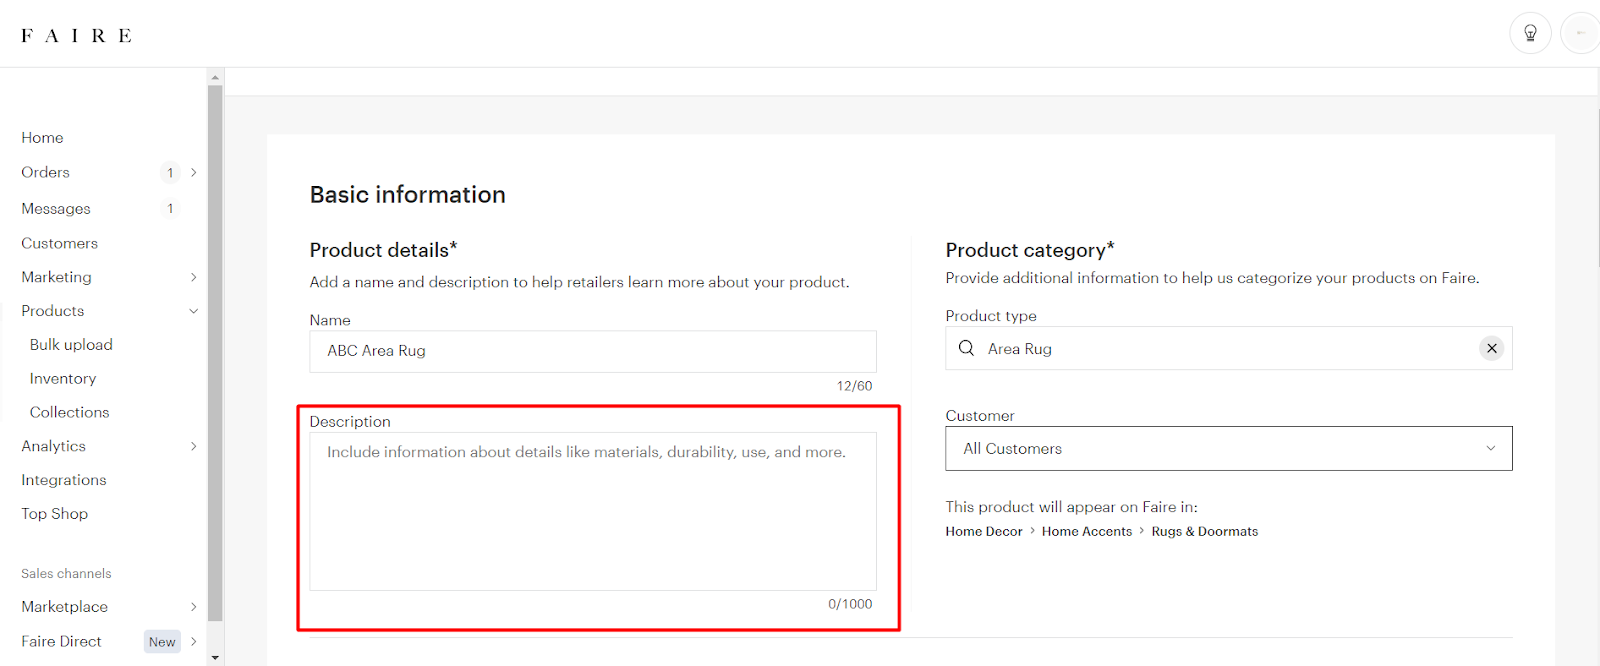
Now we need to fill in the product details and select the product category. These are the basic pieces of information.
Your product name should be concise, clear, and limited to 60 characters.
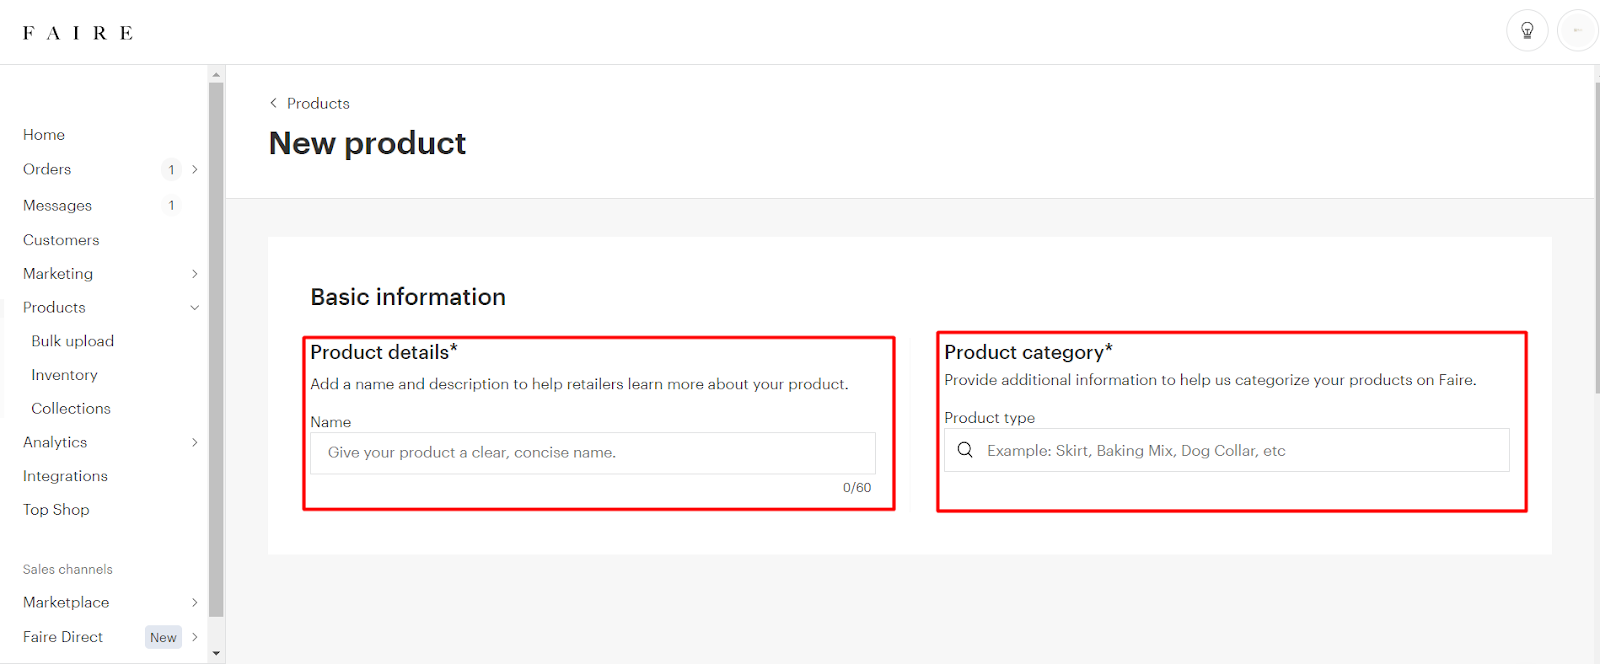
To view suggested product types, either select the search bar in the “Product type” section or start typing relevant keywords. Choose the product type that best matches your product.
Step-3
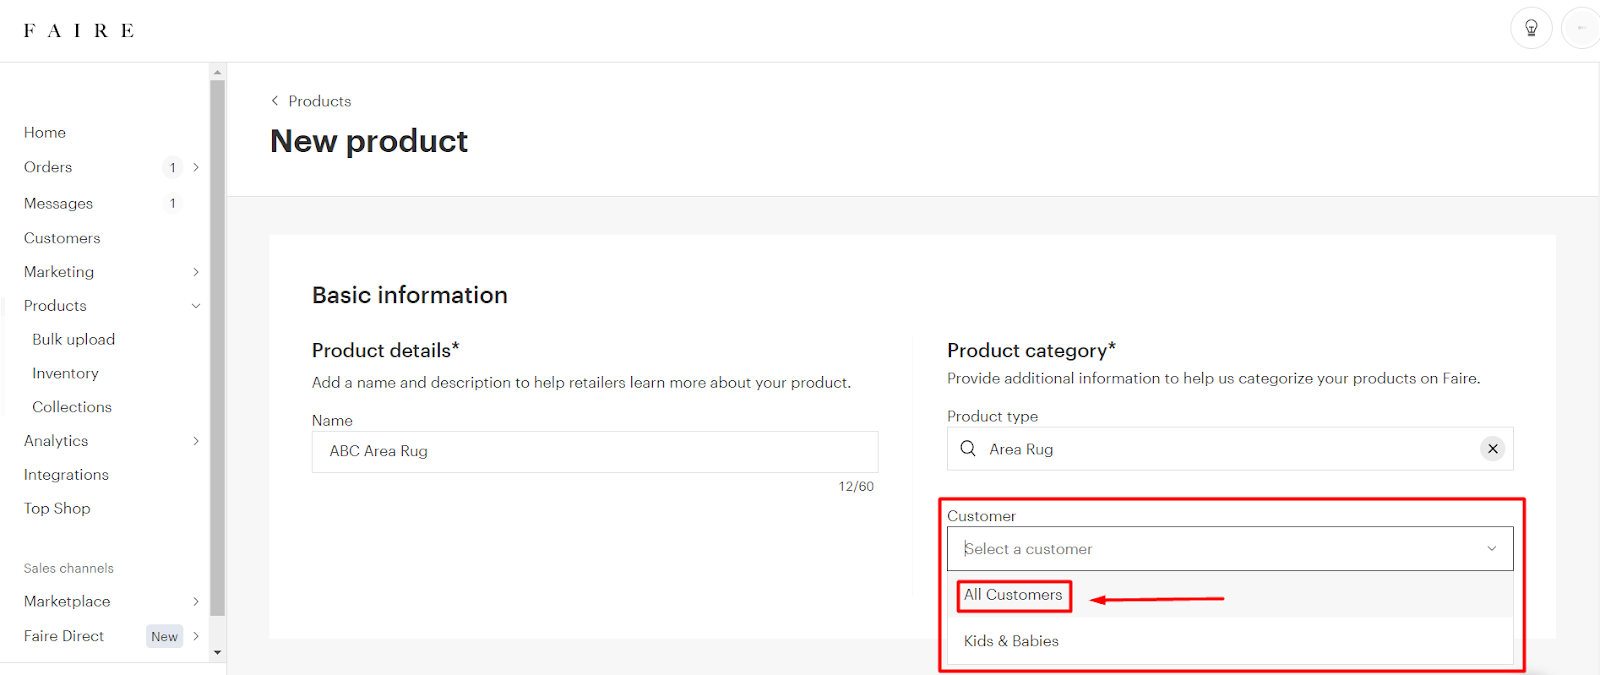
Now, select the target customer for your product. If your product is suitable for all customers, choose the “All Customers” option.
Step-4
Next, it’s time to write a description for your product. Use this space to provide detailed information about your product, highlighting its key features and important details. Keep in mind that the description field has a character limit of 1000, so ensure your descriptions are concise and easy to understand.
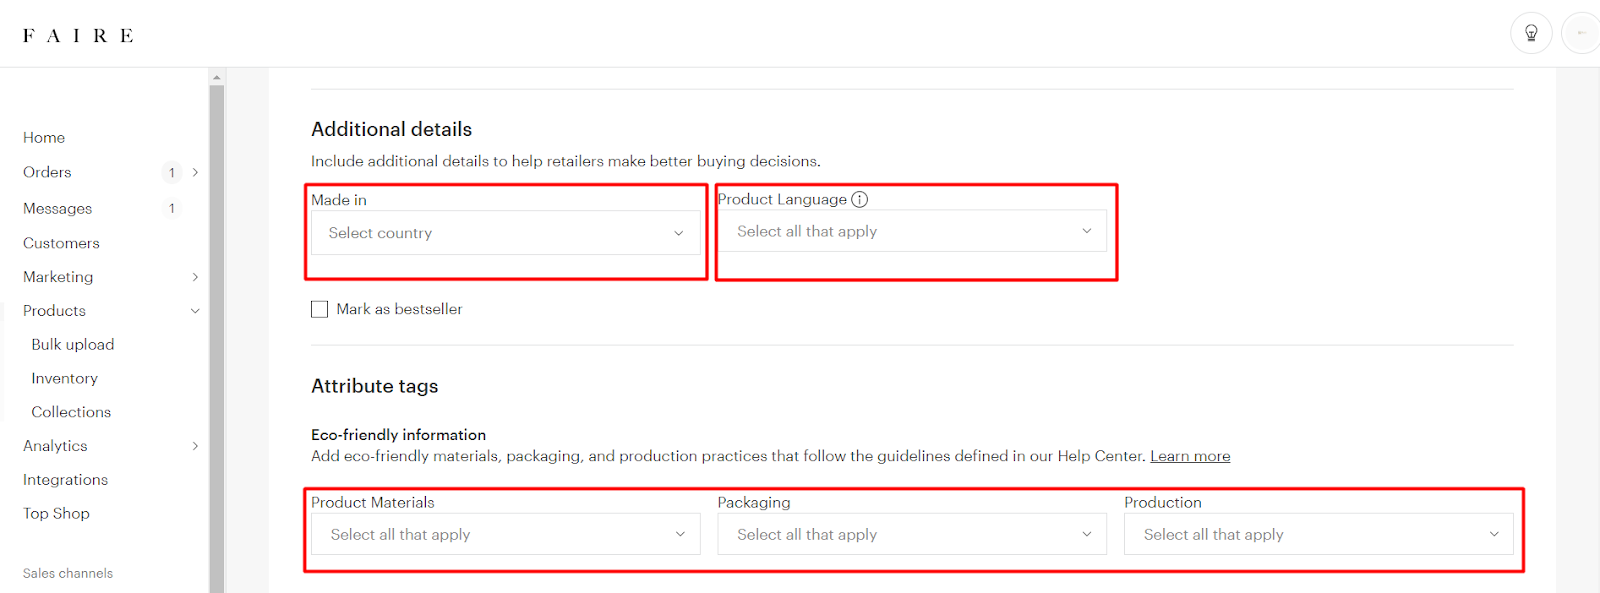
Moving on, there are additional details to fill in, such as the country of origin and the product’s language. You’ll also need to specify the product’s material, packaging, and production details.
Step-5
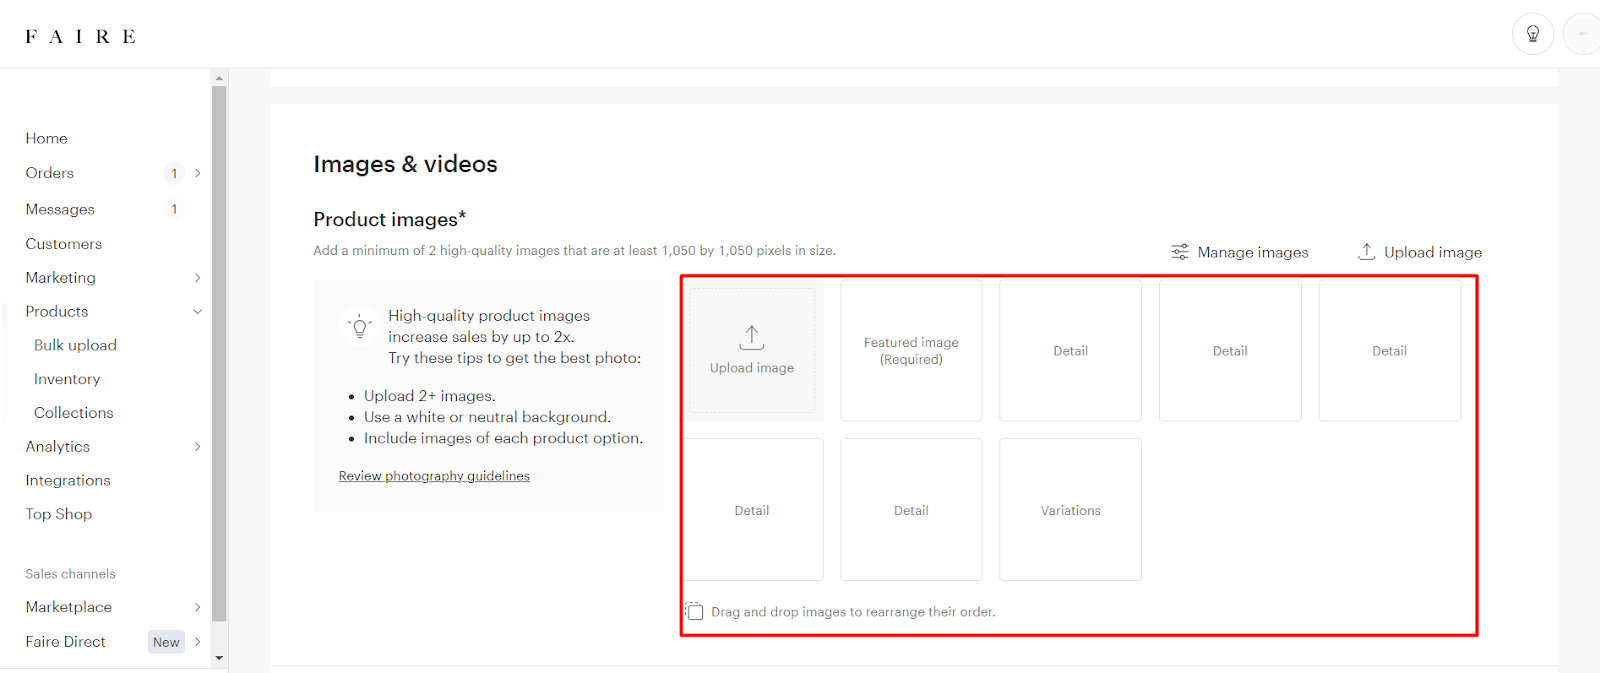
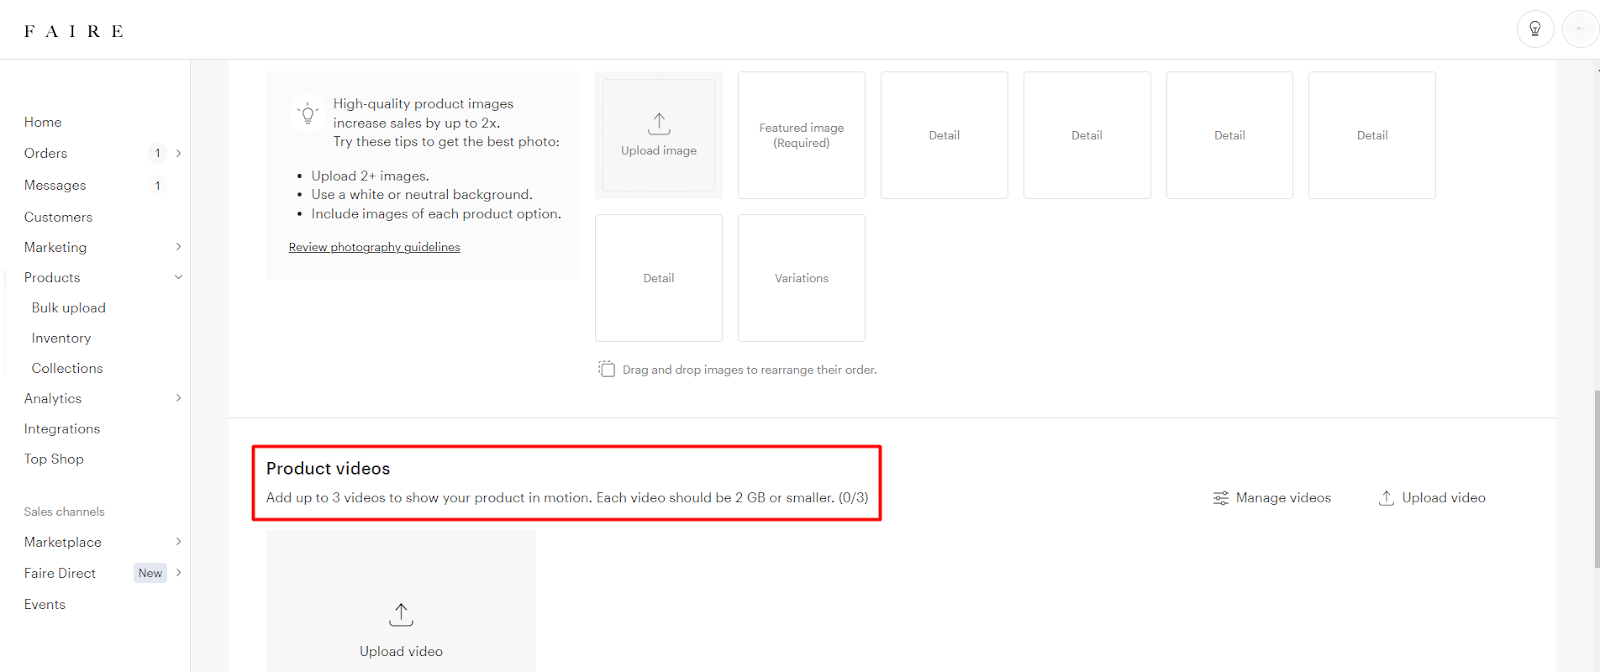
Now, let’s move on to images and videos. On the left side of the page, you’ll find general instructions that you should follow. To add images, click on “Upload images” and select all the relevant images for your product. It may take some time to upload them. If you have a product video, you can add it in a similar manner.
Step-6
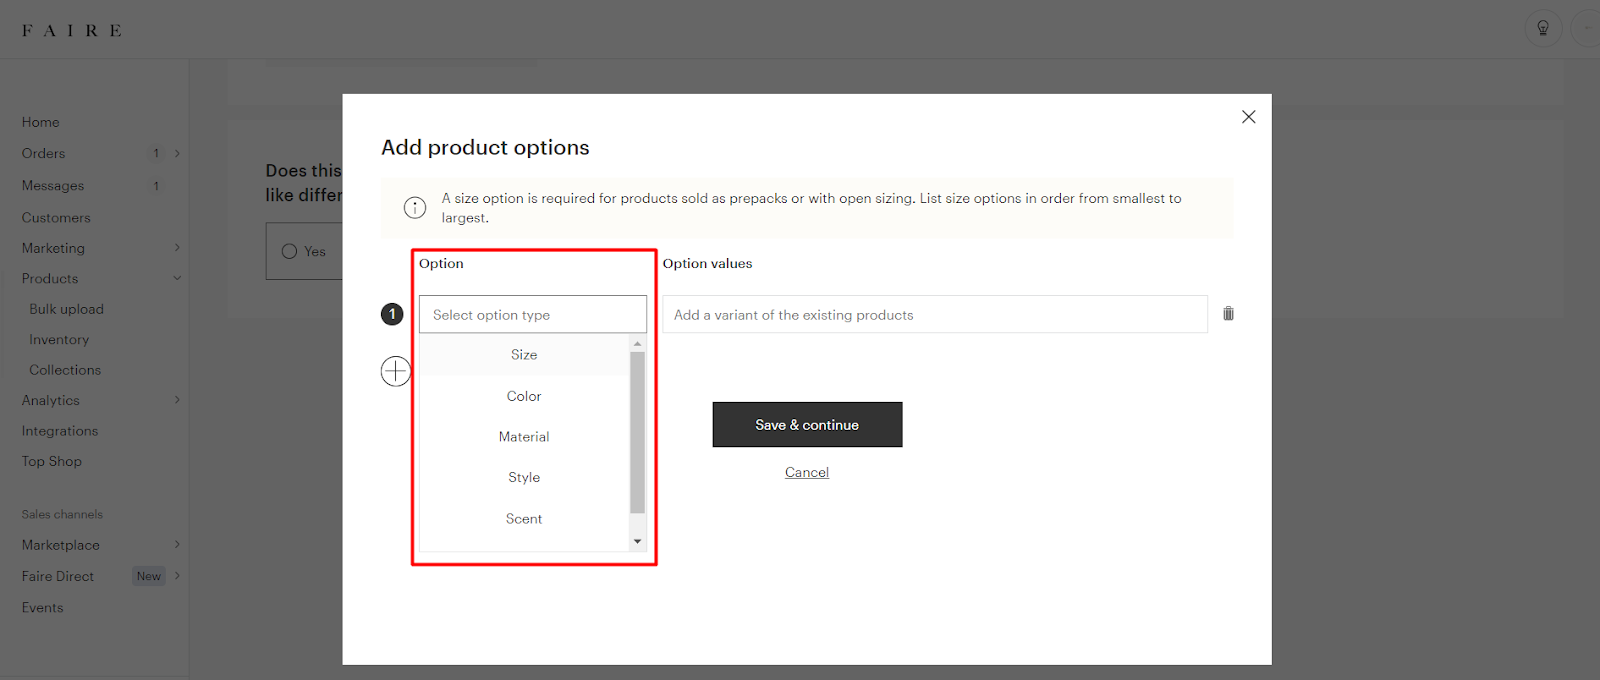
If your product comes in multiple versions, such as different sizes or colors, select “Yes” for the “Multiple options” question. In our case, we have different sizes and colors, so we’ll select “Yes” and provide the relevant option information.
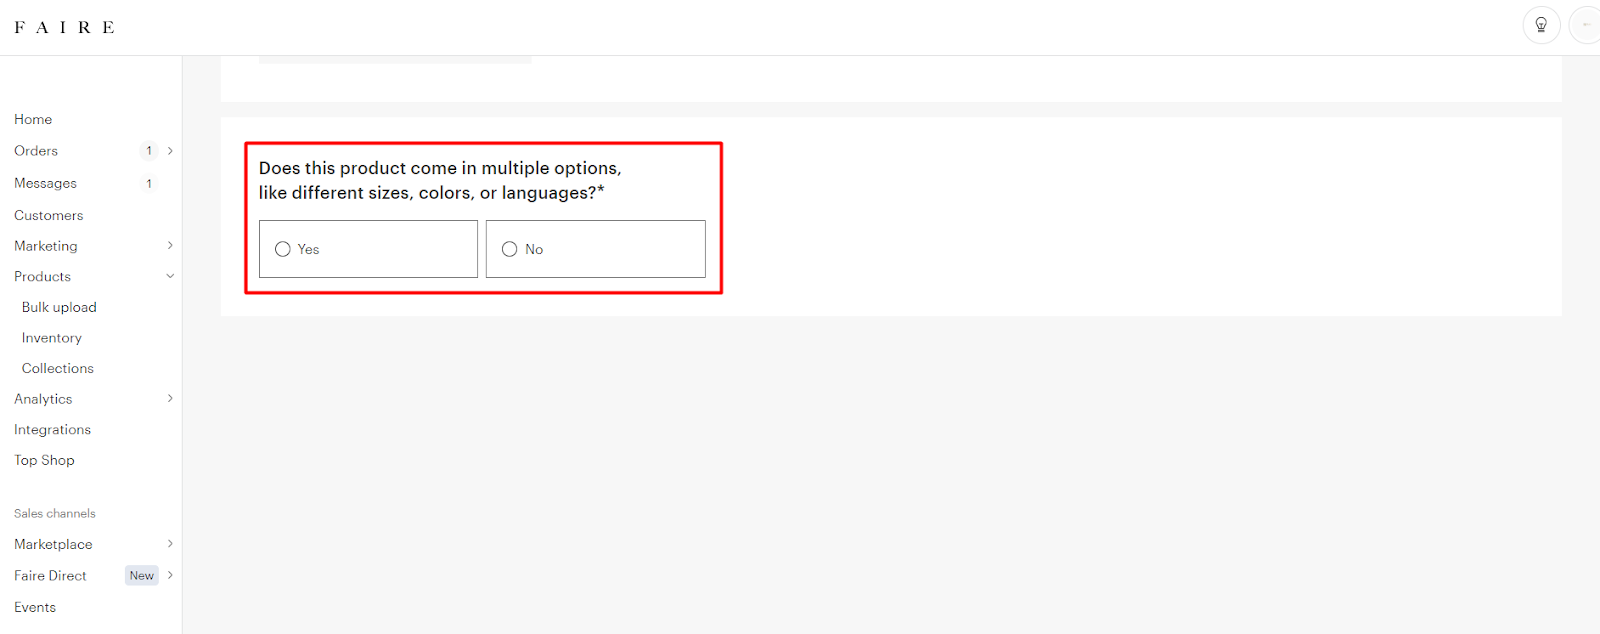
Click on “Save and Continue” once you’ve entered the necessary details. At this stage, you can choose to add color swatches or skip that step for now and do it later.
Step-7
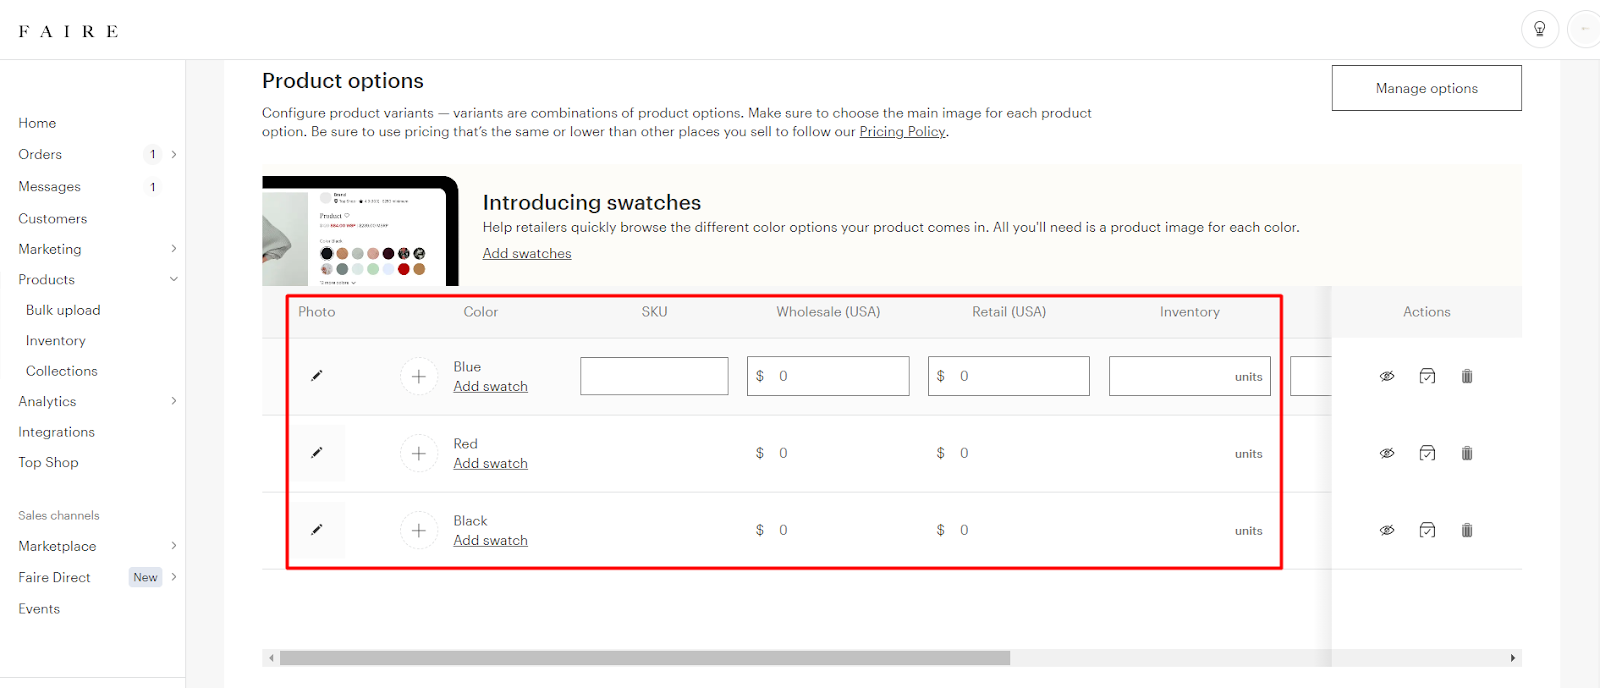
Now, we need to provide some additional information. Start by entering the SKU (Stock Keeping Unit) for each product variation. Then, input the wholesale and retail prices, along with the quantity available. Additionally, specify the item’s weight, length, and height, using inches as the unit of measurement.
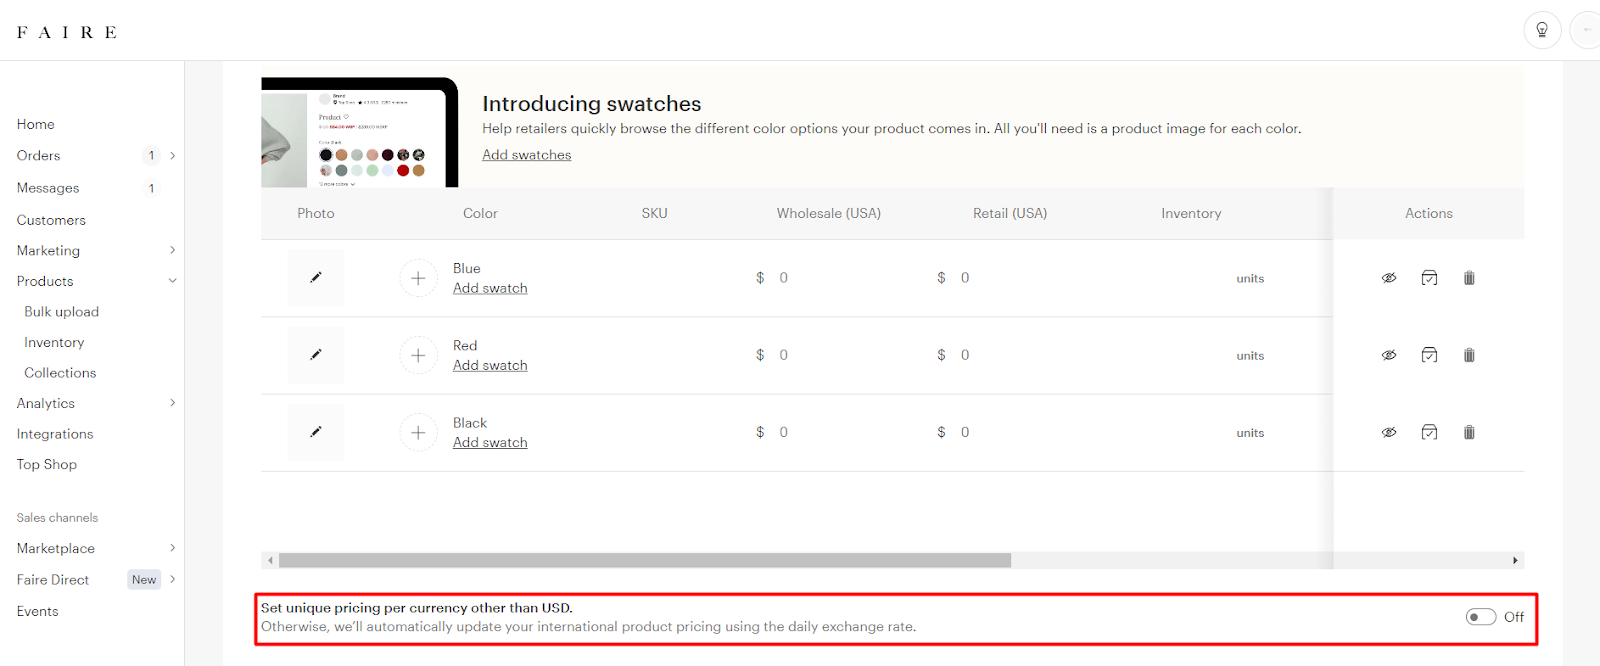
There’s an option called “Set unique pricing per currency other than USD.” If you don’t need to set different prices for currencies other than USD, leave this option turned off.
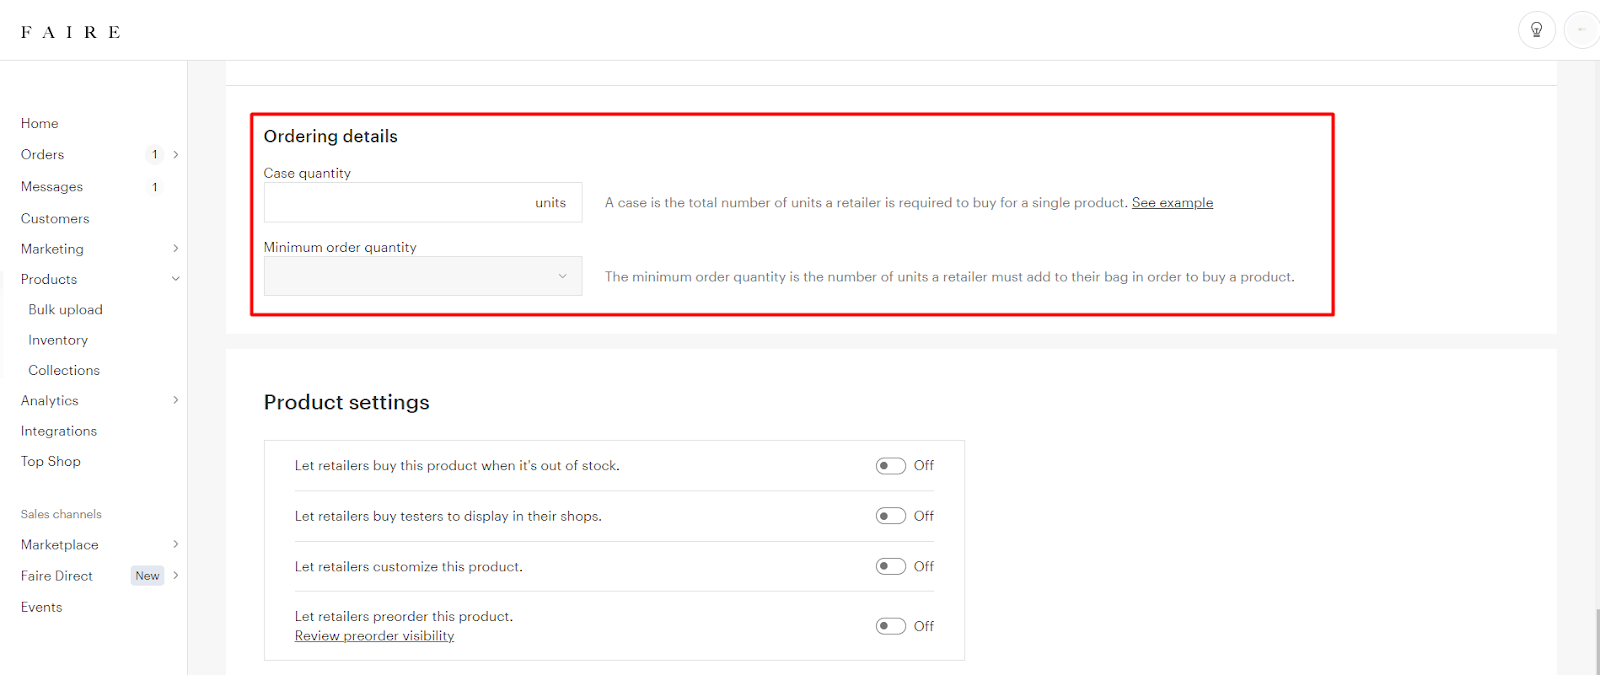
Step-8
Finally, let’s address the selling options. You can choose to sell your product in case packs, open sizing, or prepacks. In this case, we’ll select prepacks, which means retailers can purchase a style as a set-size run. If you prefer to sell in case packs, make that selection. Once you’ve made your choice, your product setup is complete.
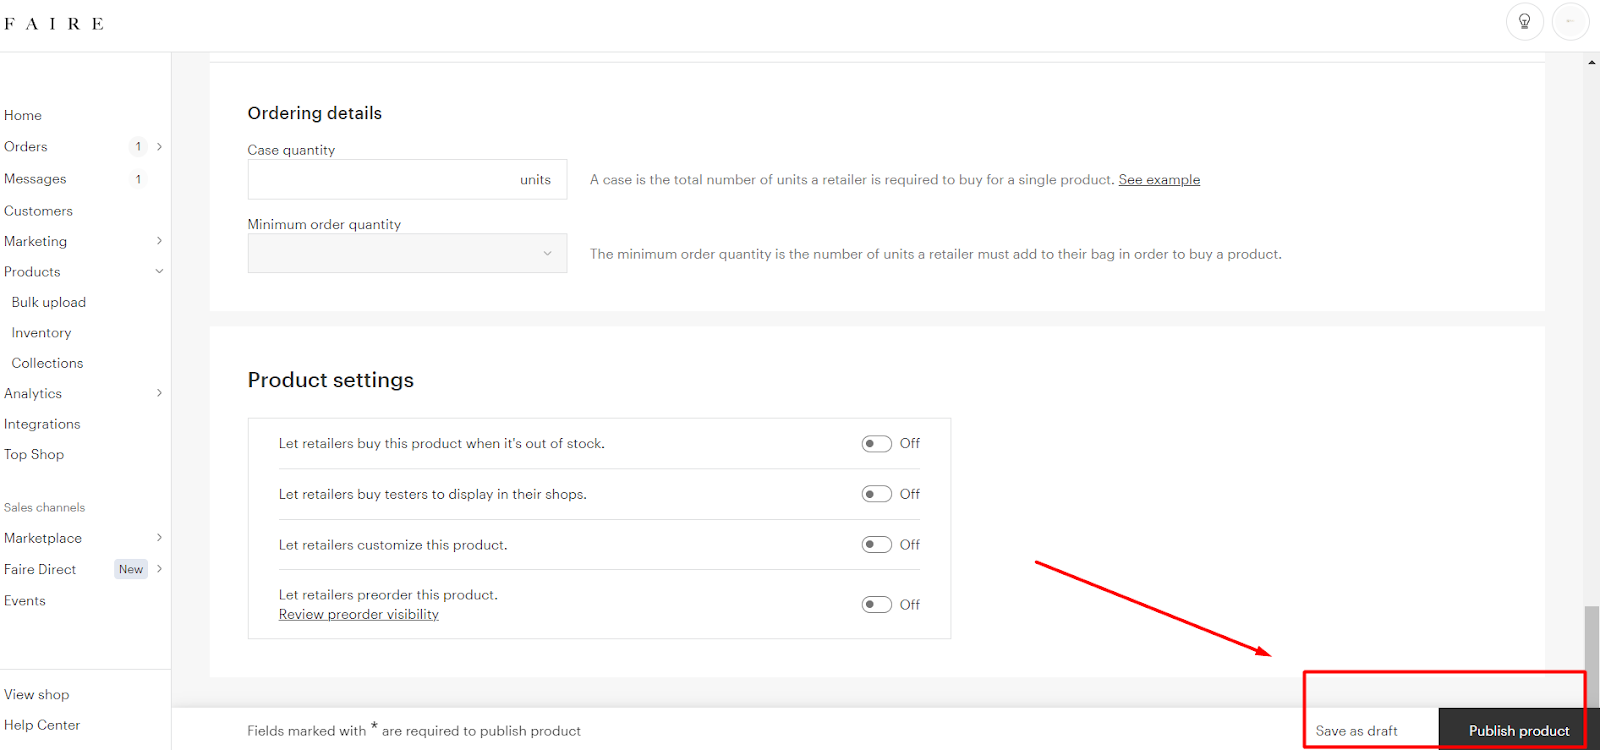
To publish your product, click on “Publish Product.” Alternatively, you can save it as a draft if you’re not ready to publish it just yet.
That’s it! You’ve successfully learned how to add a product on Faire. We hope this guide has provided a clear understanding of the process. If you have any further questions or need assistance, please leave a comment below or email us at info@ecomclips.com.
We’re here to help.
Thank you.