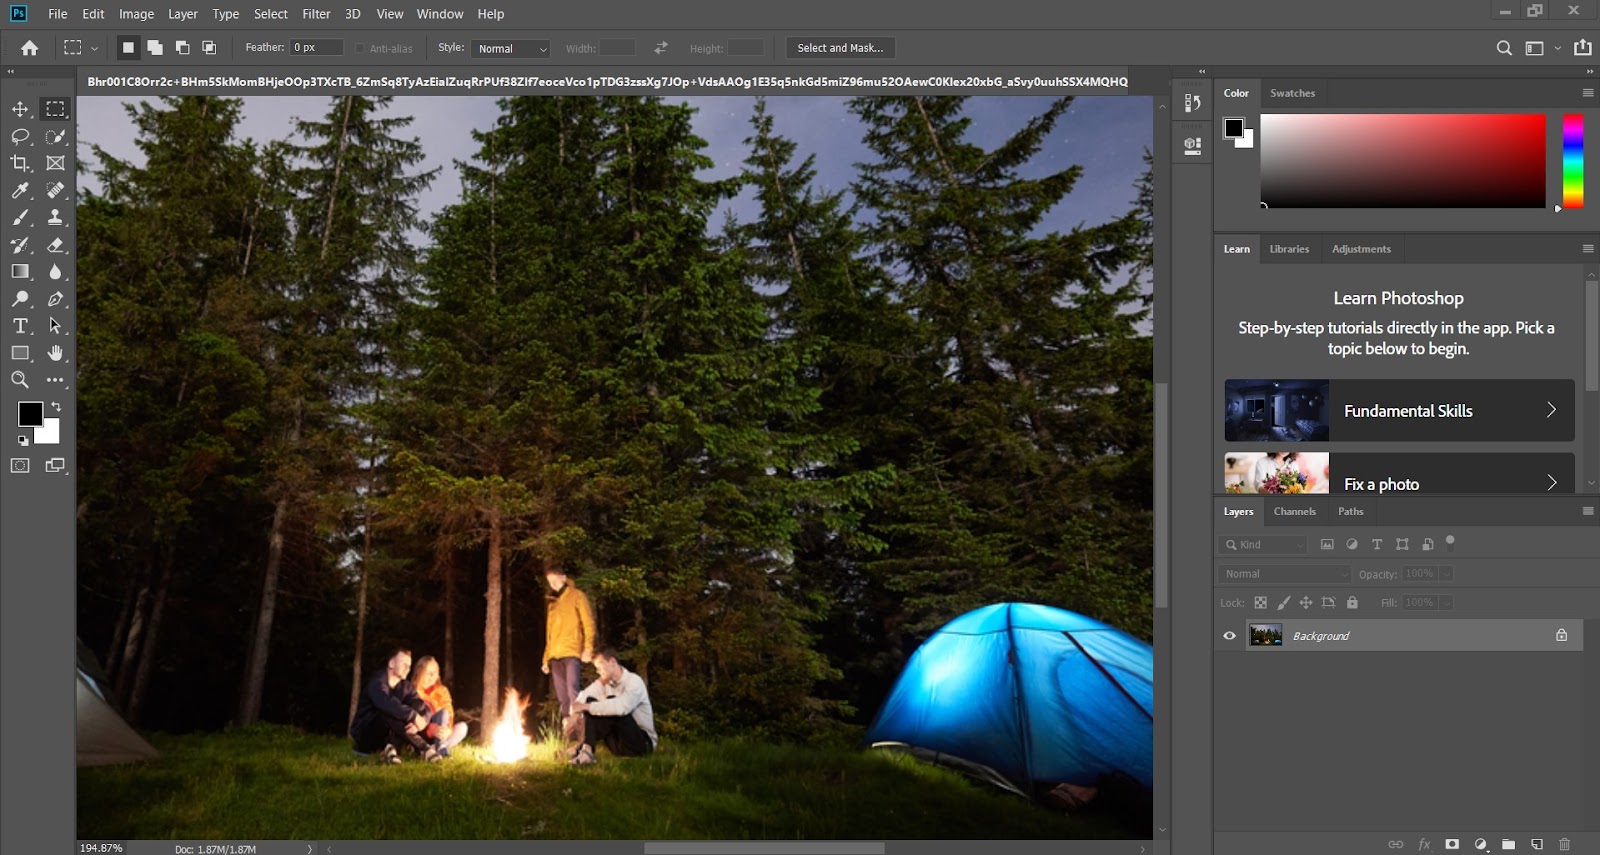
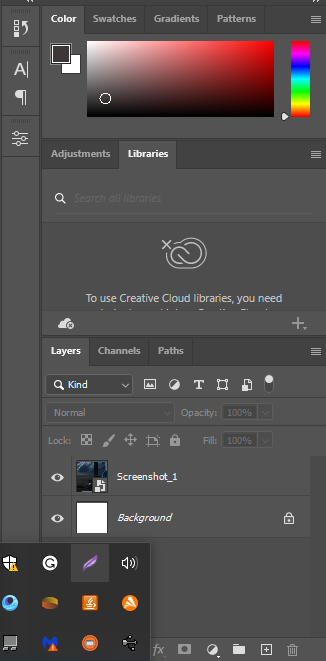
When you initially launch Photoshop, you’ll see something like this as your workspace, where there are panels covering half of your screen. You don’t always need a lot of these panels. In truth, most of these panels are unnecessary because you can accomplish identical results via shortcuts and other methods.
The benefits of custom photoshop workspaces
Personalized Photoshop workspaces can help you save a lot of time and effort. A personal workspace can make a significant impact on your workflow.
Customizing your Photoshop workspace will give you a workspace that you can take with you from task to task. Efficiencies and productivity will hopefully increase.
Preferences for workspaces
You can adjust your photoshop preferences here
Open your Photoshop and click on Edit > Preferences
Try one of these:
Microsoft Windows: Select the preference set you wish to use in Edit > Preferences.
On macOS: Select Photoshop > Preferences and pick the preferences set you to want.
For you, Adobe has pre-created six workspaces tailored to the needs of different creative professionals:
- Essentials
- 3D
- Graphics and Web
- Motion
- Painting
- Photography
You can see several tools and panels in the “Essentials” and “Photography” workspaces that a retoucher will most likely never use in their day-to-day work. The same goes for the other four workspaces.
Personalization
We can customize the following items:
- Panels
- Interface Preferences
- Appearance
- Screen Modes
- Interface Text
- Color Menu Items
- Keyboard Shortcuts
- General Preferences
Let’s take a closer look at each of these topics.
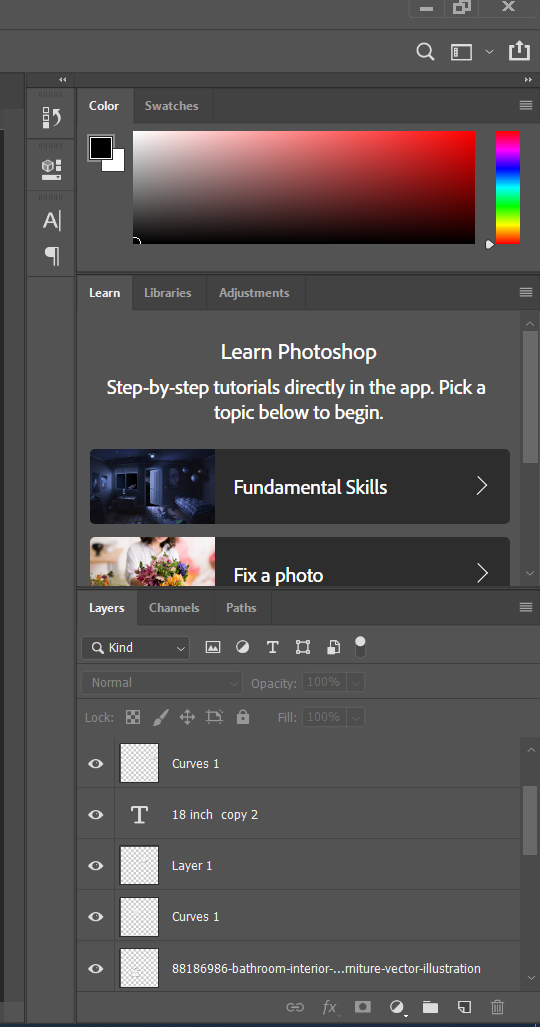
Panels
A user can move and click all panels as well as the toolbar within the interface. The panels can be moved by clicking the darker top bar of a given panel, and it will be” unlocked” from its current position. The panel can be moved back into place by clicking on the top bar and dragging it to its place in the window. The area is highlighted in blue and called a ‘drop zone’, indicating that it can be positioned here. The button can then be released to secure it.
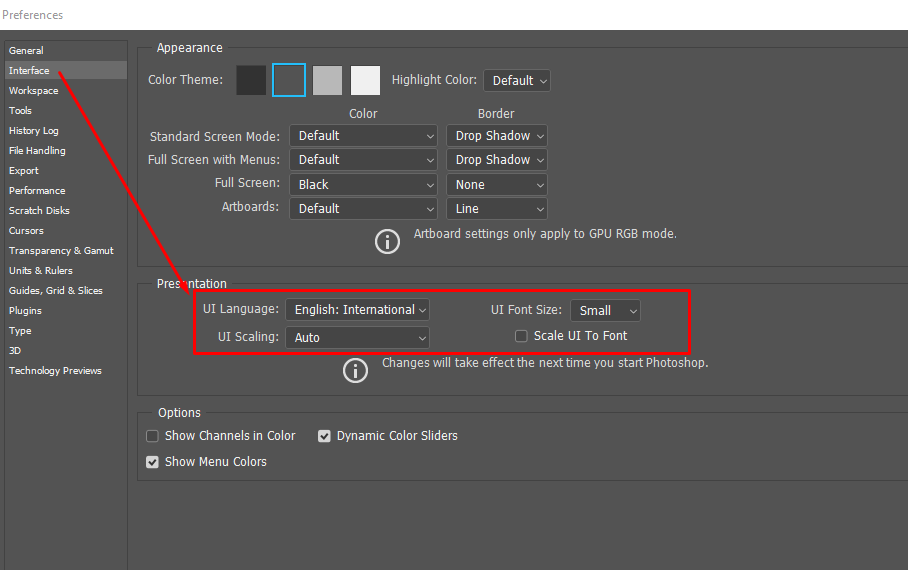
Interface preferences
These preferences allow us to alter Photoshop’s appearance, language, text size, colors and borders, as well as the screen mode. There is also an option to adjust the size of the interface text if you find it difficult to read.
Appearance
You have four different options for greyscale colors, starting from dark to light. Additionally, most screen modes and Artboards have the option to change their default colors in the Preferences dialogue box.
Text
We can choose the language, size, and scale of our interface using these options.
Screen Modes

Screen Mode can be accessed by clicking on the tool bar button. Our workspace can be viewed in different modes, such as standard, full screen, or with only certain panels visible / hidden. The following are the different modes you can choose from by clicking on the Screen Mode button or by pressing the “F” key on your keyboard.
Because most of our retouching tools will be the same, you might like to color highlight your most important menu items and group them by color.
Custom Keyboard Shortcuts
Through the Keyboards and Shortcuts menu, Adobe allows users to customize their key bindings.
Keyboard Shortcuts and Menus are accessible by selecting Workspace > Keyboard Shortcuts and Menus (Windows) or Alt + Shift + * + K (Mac).
The Adobe website provides a complete list of all the Photoshop default shortcuts. Additionally, the Adobe website provides a PDF download. To keep your workstation in good shape, print out a copy of the guide and keep it close by.
Workspace General Preferences
Choose Edit > Preferences > Workspace or press Ctrl + K (Mac) or K (PC)
In addition to these settings, we have several other options for customization. Additionally, you can restore default workspaces. You can click this button to restore the original settings of the default workspaces (and only the default workspaces).
Alternatives
- When you click elsewhere within Photoshop, this feature will automatically collapse open iconic panels.
- Hidden Panels are displayed by default when you roll over the page.
- Instead of opening multiple windows, open documents as tabs.
- The docking of floating documents is disabled, therefore your open documents will remain floating, and they cannot be docked – When this setting is disabled, your open document will remain floating, unable to be docked into its original location.
Changing your workspace
You can switch through the different workspaces from the workspace drop down menu in the upper right corner of Photoshop. You can also create new workspaces, modify or delete the existing ones here:
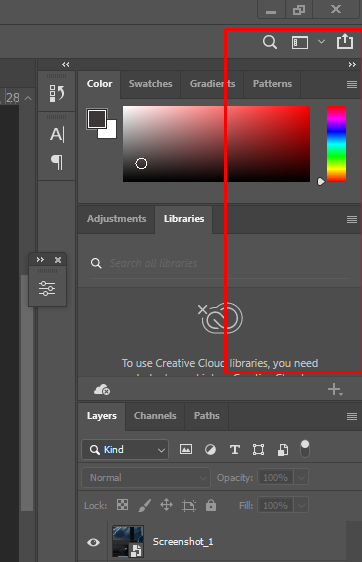
Cut out unnecessary panels from your photoshop’s workspace
Taking down unnecessary panels is the first step. Press the X in the upper-right corner to close panels once they’ve been dragged out of the column to the work area. If you right-click on any expanded panel, choose close to access the menu.
Alternatively, you can restore an individual panel from the Window menu if you accidentally close it. By going to Window > Workspace > Reset, you can completely reset your workspace.
Toolbar setup on your photoshop’s workspace
Take a look to the left. The toolbar is there. It may be surprising to you, but the toolbar offers other options than those that appear on the toolbar.
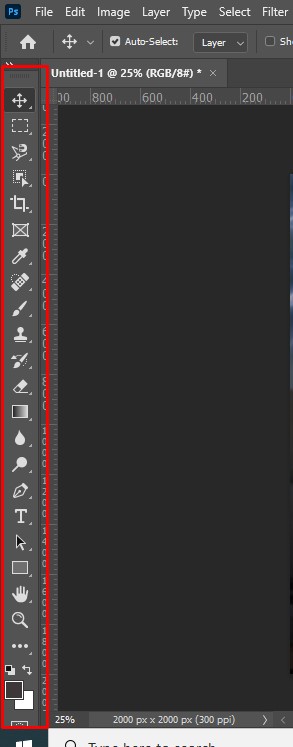
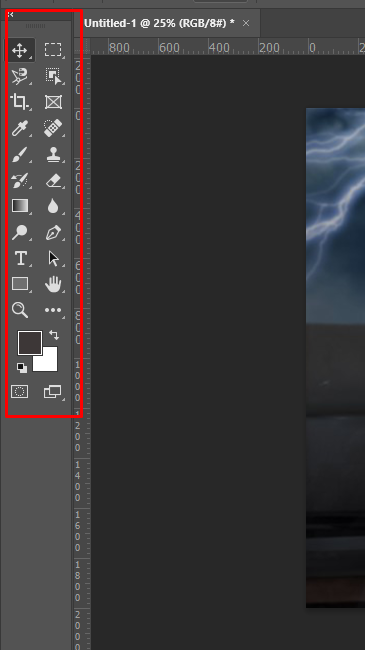
If you prefer, you can remove the toolbar. The toolbar can be positioned on a floating basis. If we click the double arrow, two columns will appear, and we can dock them to the right if we wish.
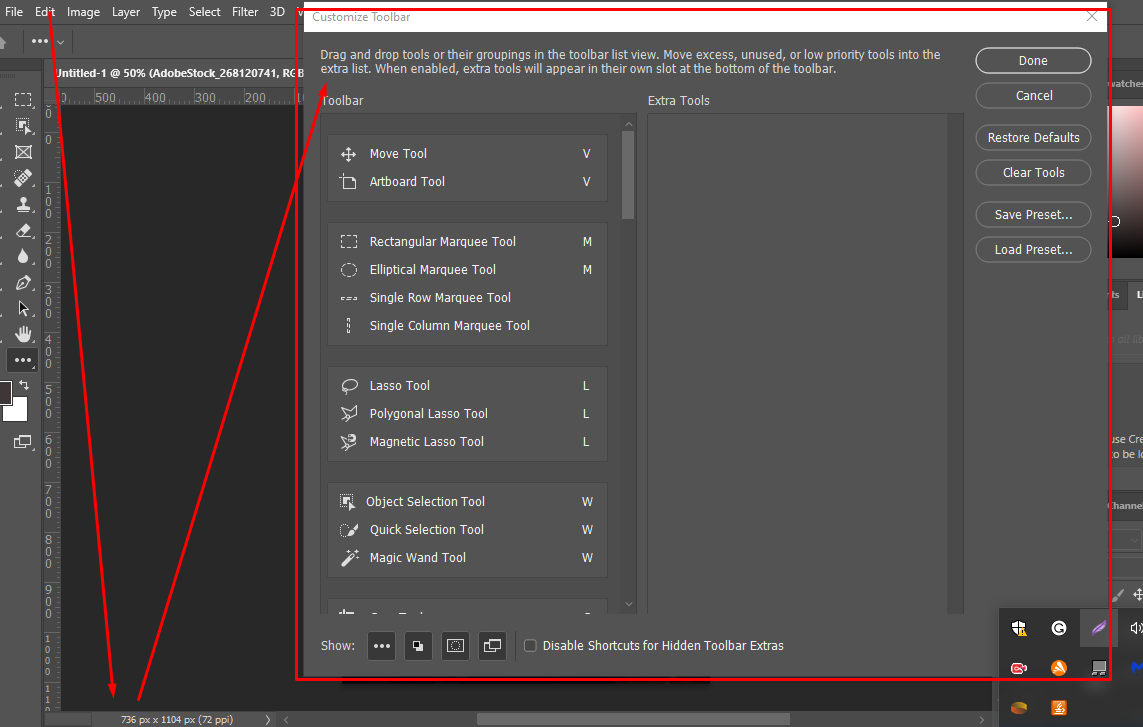
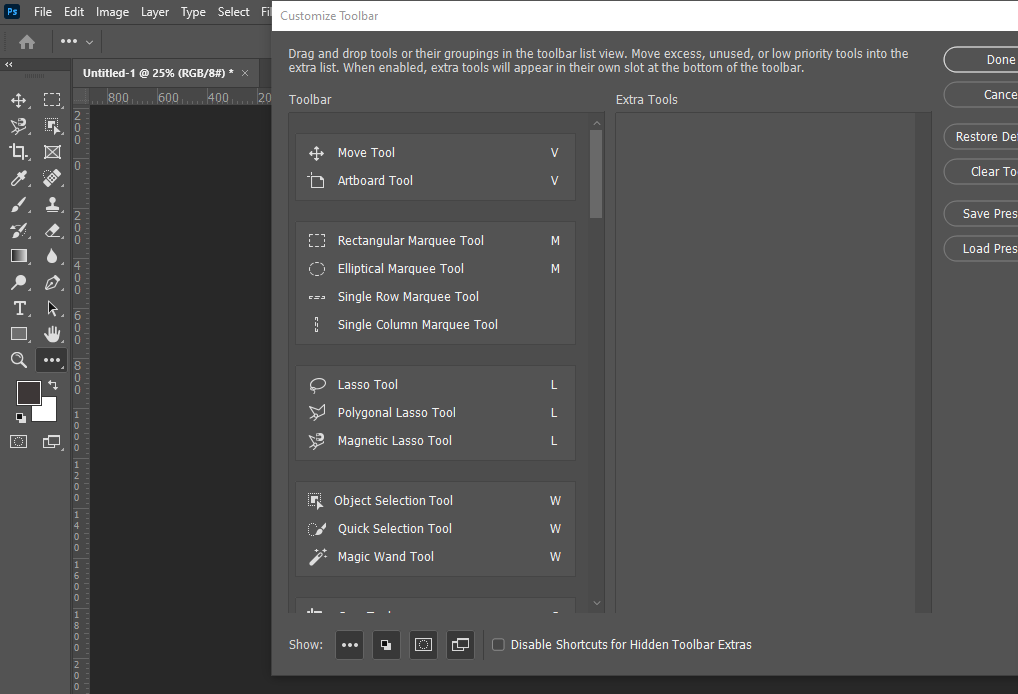
Photoshop provides functionality for customizing the toolbar using the Customize toolbar dialog box. You can access it by choosing the Toolbar option from the Edit menu at the top of the screen:
To use the Ellipsis tool, simply click the three dots (right-click on Windows) or Control-click (Mac) on the Ellipsis symbol (lower left). You can then click Edit Toolbar, as follows:
To use the Ellipsis tool, simply click the three dots (right-click on Windows) or Control-click (Mac) on the Ellipsis symbol (lower left). You can then click Edit Toolbar, as follows:
In the end
The Photoshop interface and workspace can now be customized.
You might need different workspaces for each specific purpose if you work on several projects (e.g. you’re a photographer and also do design). It is also possible to need different workspaces under the same computer if you share it with a family member or co-worker.
To make it easier for you to come back to your customized workspace each time, you want to save it, so you can access it easily without having to repeat the process each time.
Simply select New Workspace under the top-right corner of the window. Afterward, you can use it as needed.
I hope you can customize your Photoshop workspace to meet your needs.
Good luck!