
Are you thinking about starting your journey as an Etsy seller? In this article, we’ll walk through the step-by-step process of starting selling on Etsy correctly so you can avoid common mistakes and build a profitable shop.
Is Selling on Etsy worth it?
Starting on Etsy requires some upfront effort, but the potential for long-term passive income makes it worth it. Etsy stands out because of its low barrier to entry. Unlike Amazon, the startup costs are minimal—you don’t need to code, build a website, or hold inventory.
Etsy lets you build your brand, set your own rules, and design a shop that reflects your unique style. With the right strategy, there’s no limit to how much you can grow.
Let’s dive into the A-to-Z process of getting started on Etsy!
Step 1: Decide What to Sell
Before setting up your Etsy shop, decide what you can sell on Etsy. Etsy focuses on four main categories:
- Handmade items
- Digital products
- Print-on-demand items
- Vintage products
Etsy has strict rules. Reselling mass-produced goods isn’t allowed, except for vintage items (20+ years old). Handmade and digital products must be original creations.
Pro Tip: Start with one category and focus on becoming a specialist. Mixing too many product types in one shop can dilute your brand and confuse customers.
Choose a niche that aligns with your passion and the needs of Etsy’s audience. Once you’re established, you can expand to other niches or create additional shops.
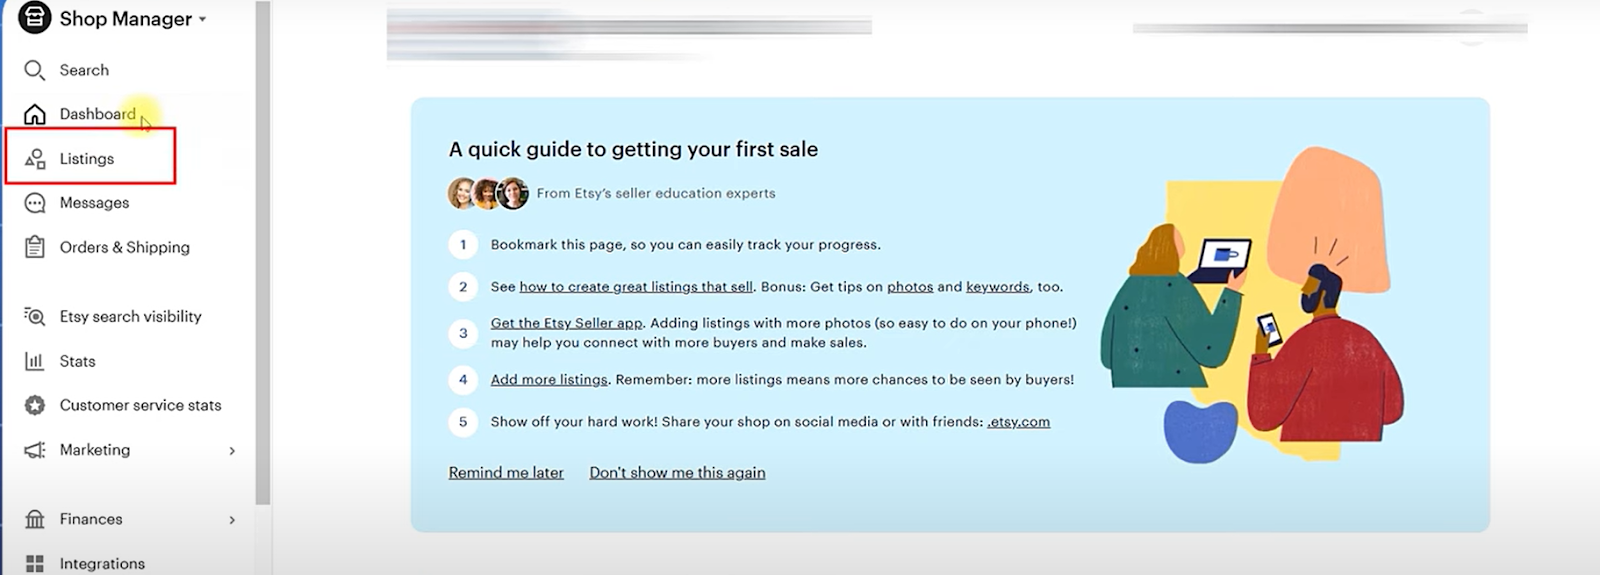
Step 2: Set Up Your Etsy Shop
Step-by-Step Guide:
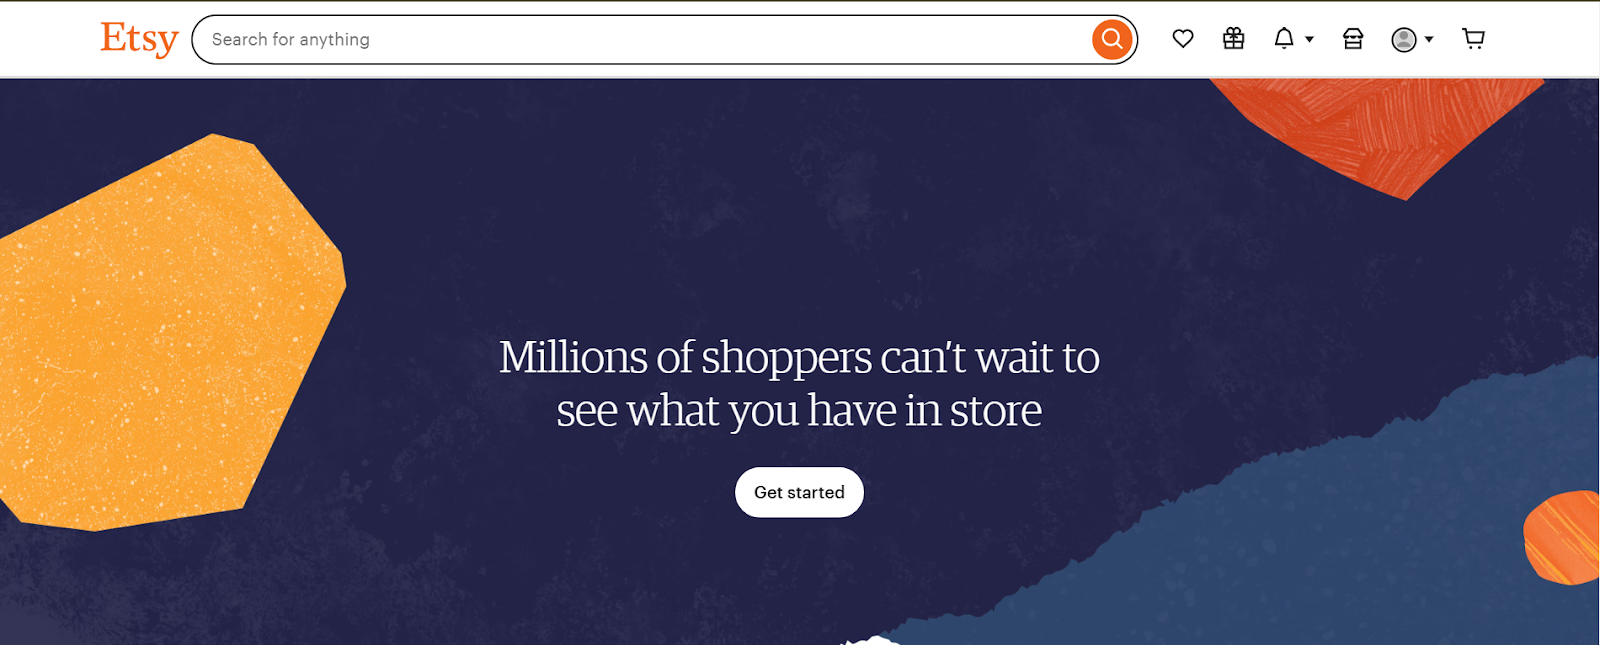
- Visit etsy.com/sell.
- Click the “Get Started”.
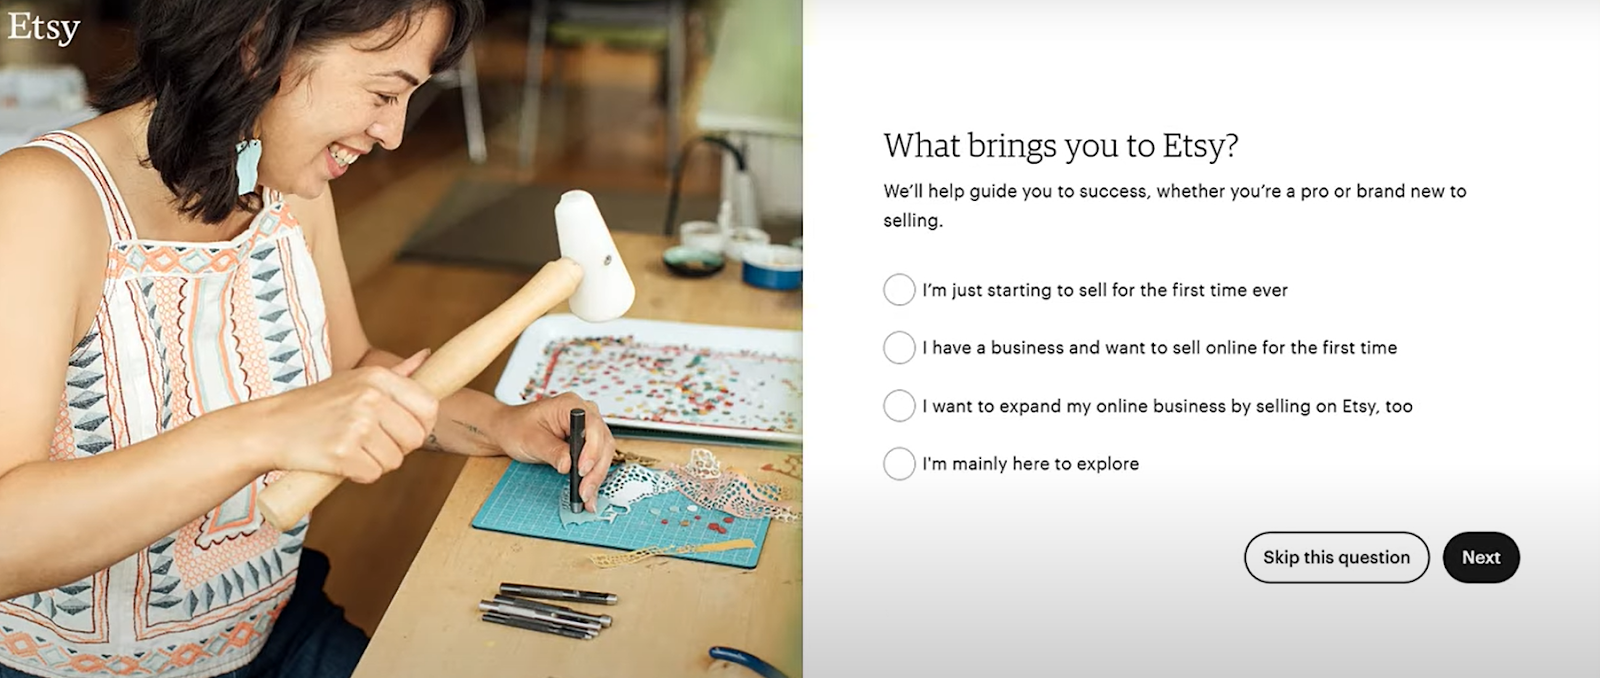
- Fill out the initial questions or skip them.
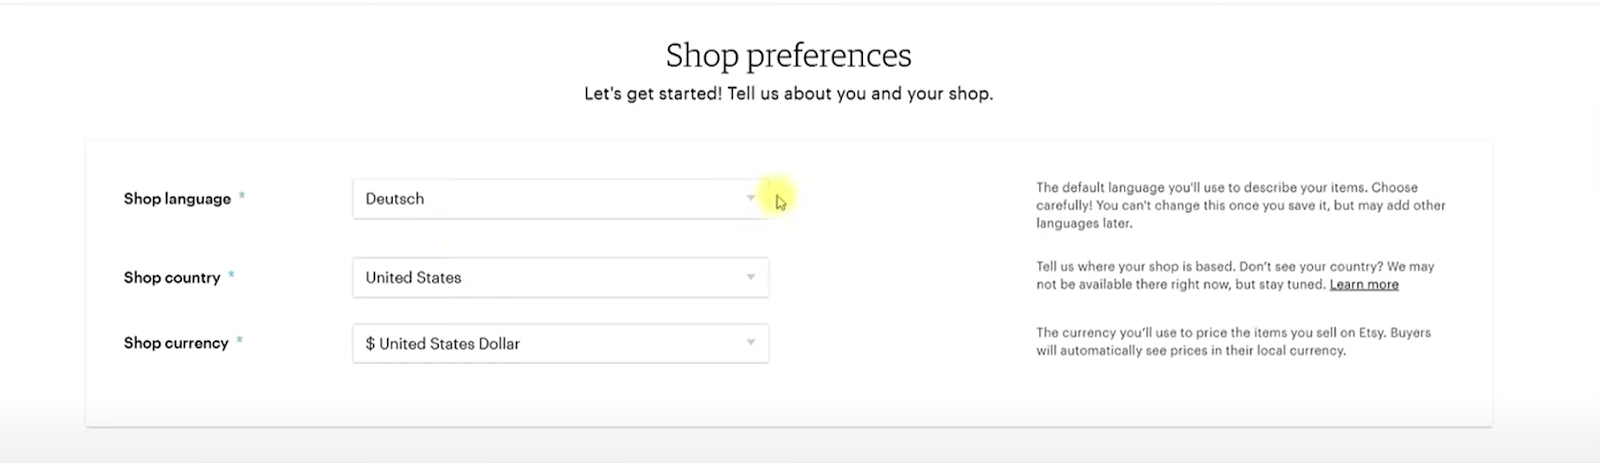
- Set shop preferences (language, country, currency).
- Choose a unique shop name that represents your vibe.
- List your first product (this can be a placeholder).
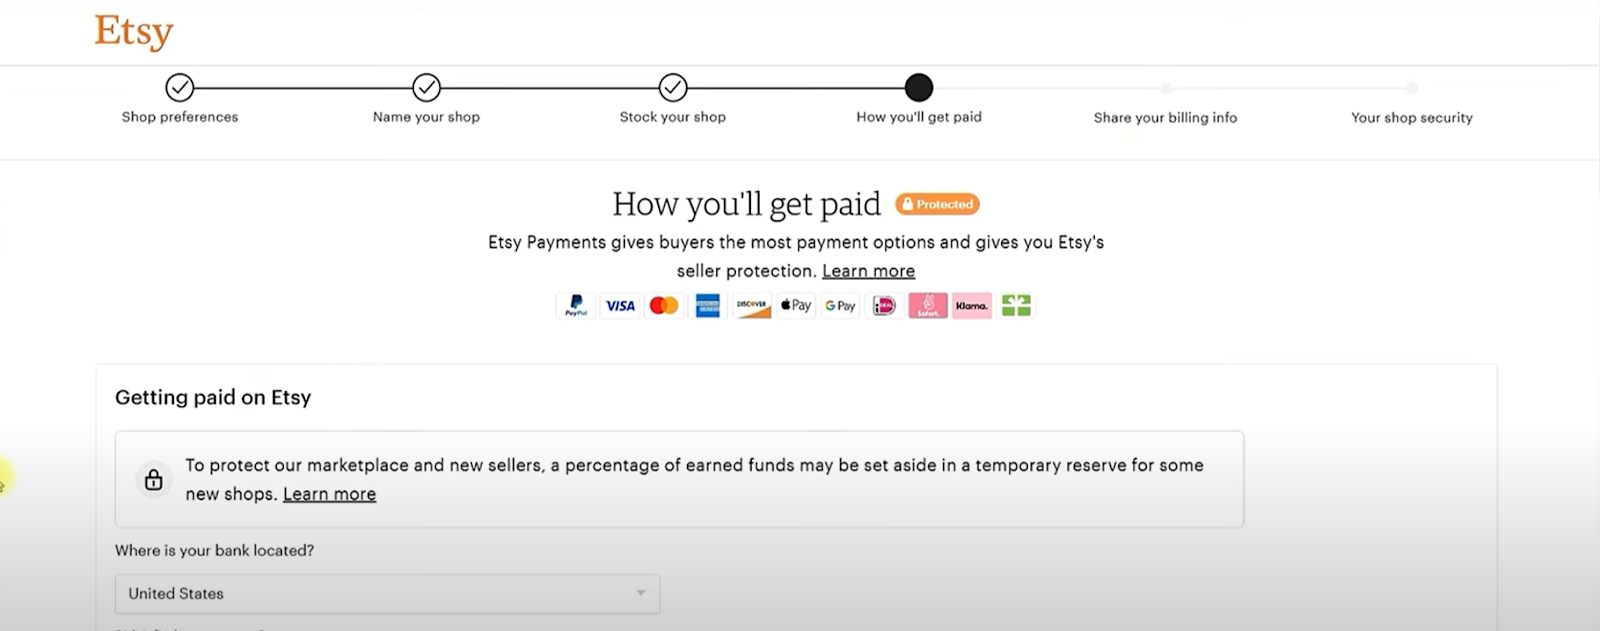
- Enter payment details (individual or business account).
Once your shop is live, you can update details and make improvements over time.
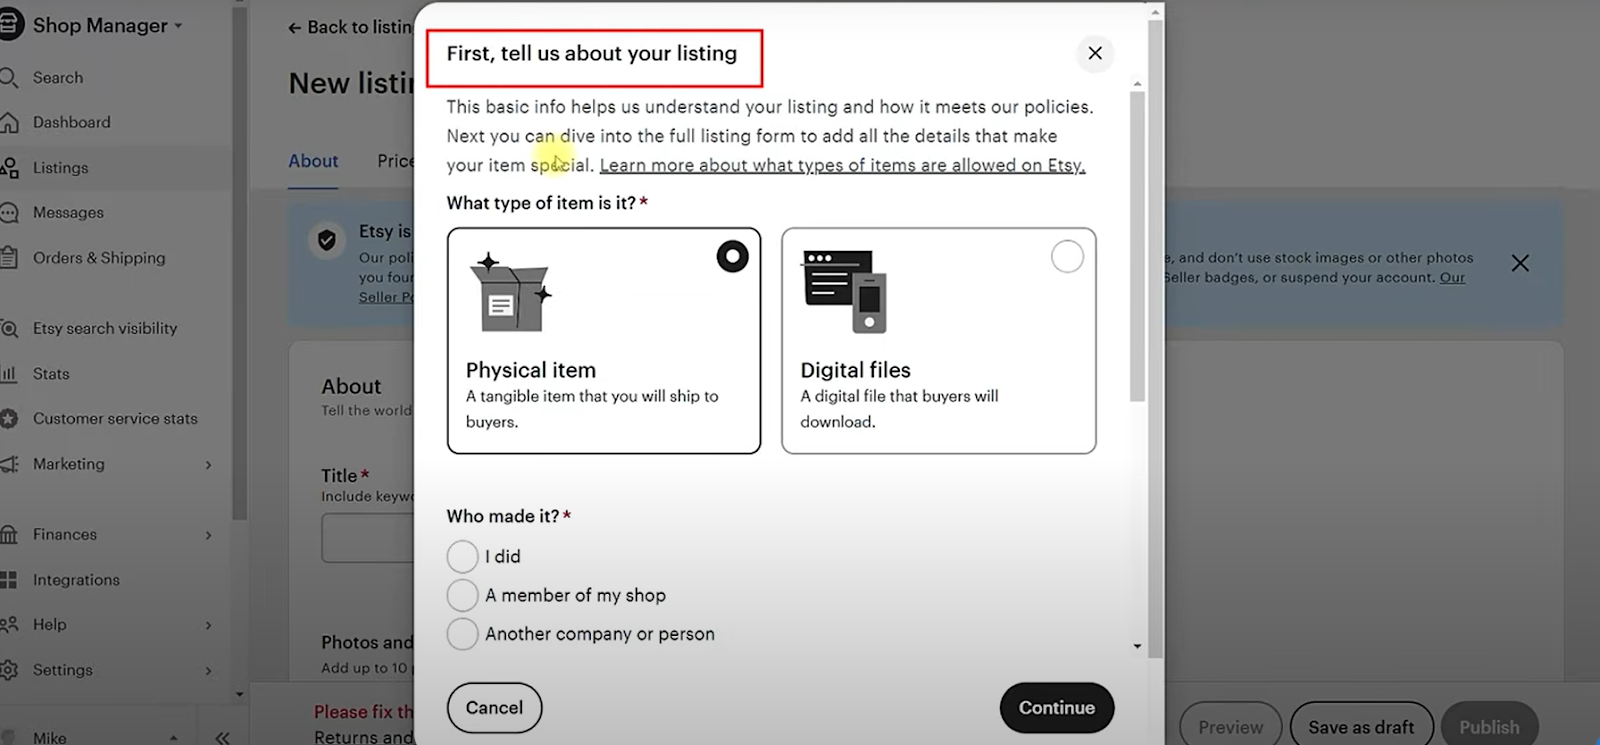
Step 3: List Your Product
Creating Your Listing:
- Go to your Shop Manager, click “Listings,” then “Add a listing.”
- Provide product details:
- Is it physical or digital?
- Who made it?
- When was it made?
- Add a title (140 characters max).
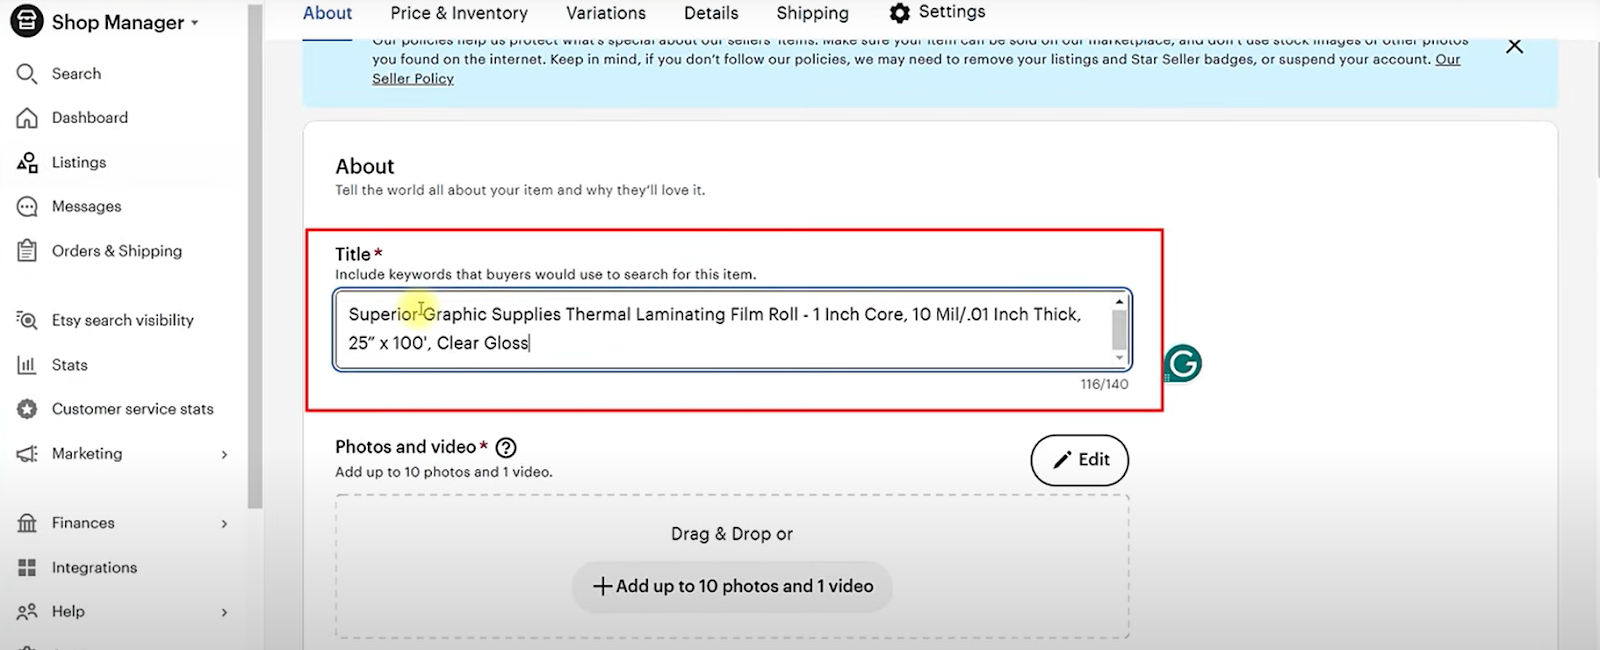
- Upload photos/videos (up to 10 photos and 1 video).
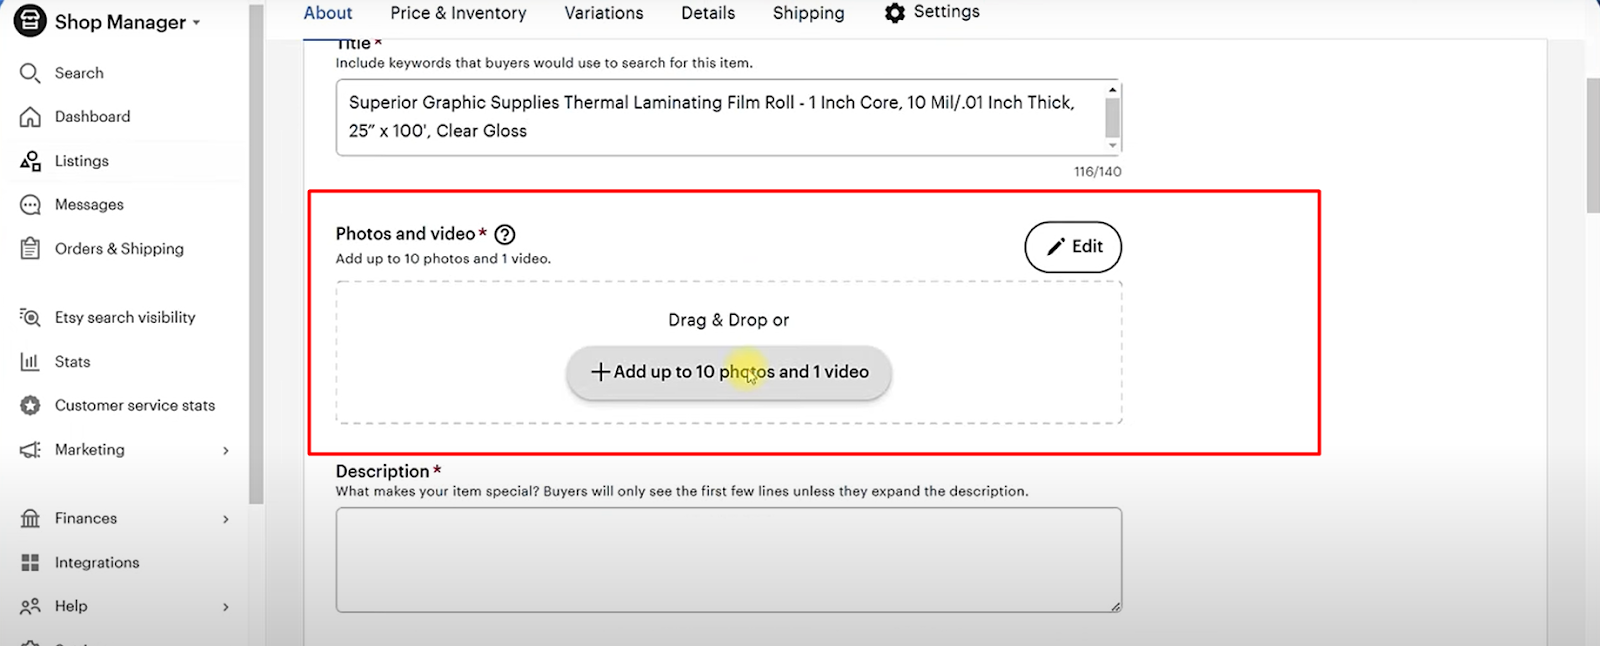
- Write a compelling product description and add personalization options if applicable.
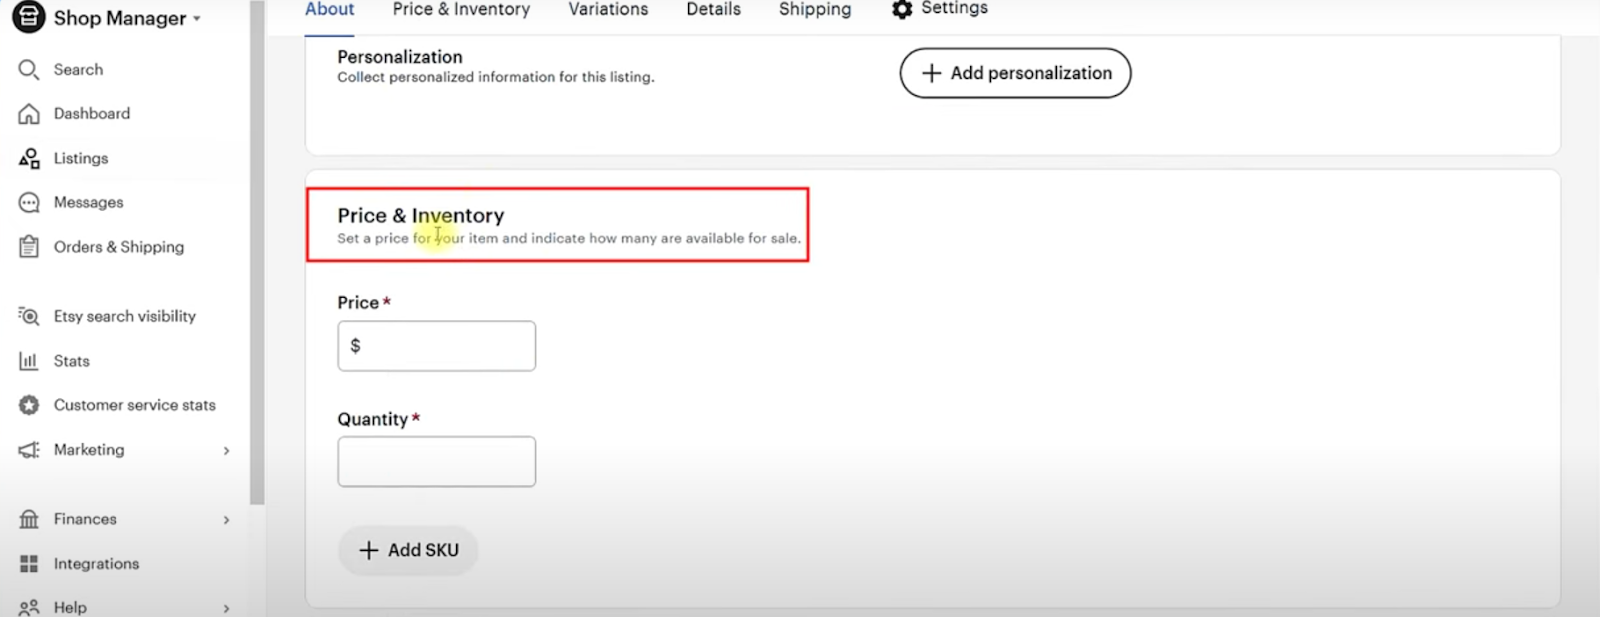
- Set a price, inventory quantity, and variations (e.g., size, color).
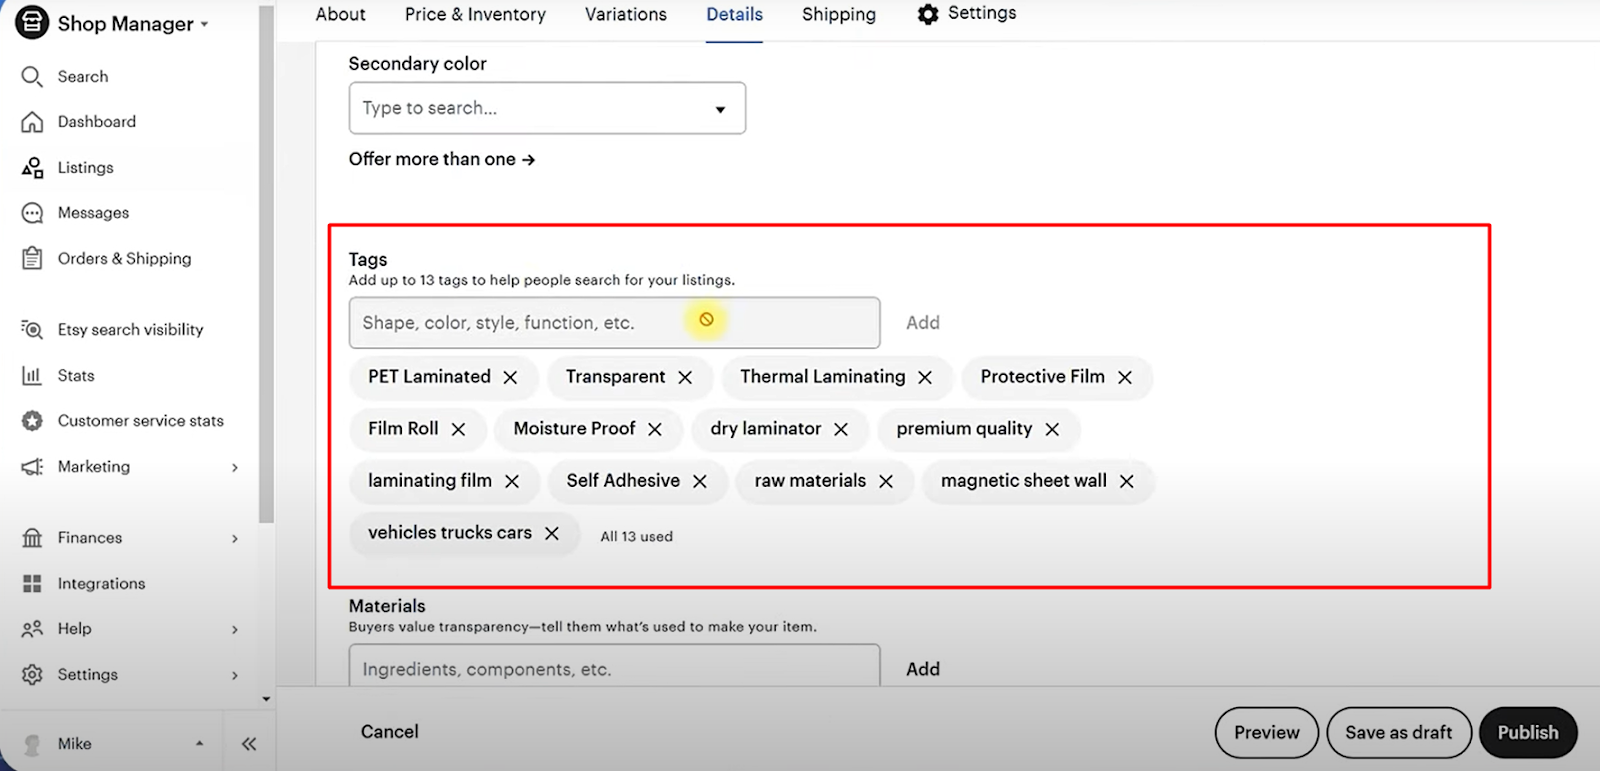
- Add tags (up to 15) to improve searchability.
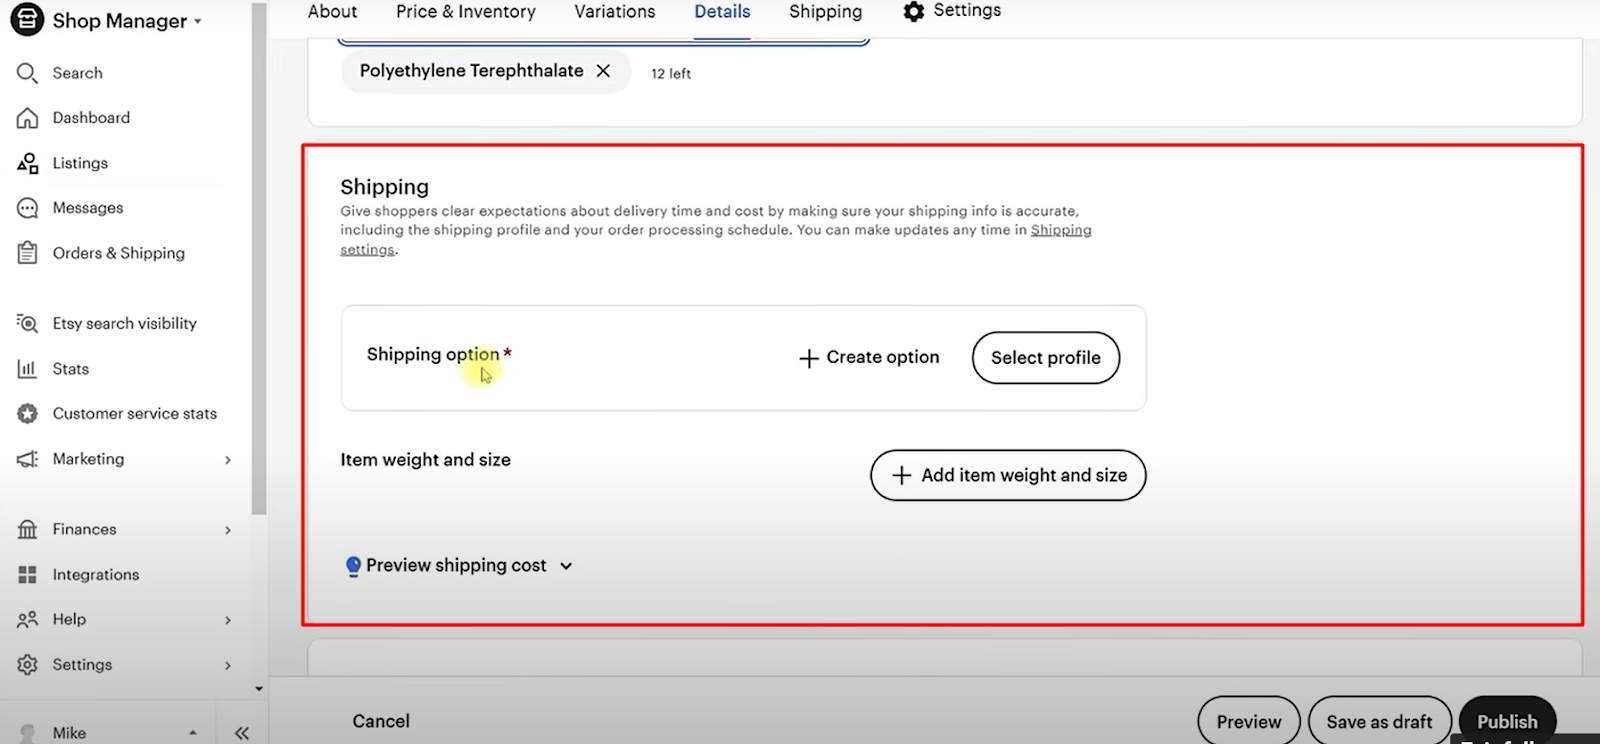
- Select or create a shipping profile (consider offering free shipping).
When everything is ready, click “Publish” to make your listing live.
Step 4: Optimize Your Listings for Visibility
To get your listings seen:
- Optimize for SEO: Use relevant keywords in titles, tags, and descriptions.
- Write detailed descriptions that answer common customer questions.
- Use high-quality images and a clear thumbnail to attract buyers.
Tip: Start with competitive pricing to build trust, and ensure packaging is professional to create a positive impression.
Step 5: Drive Traffic to Your Shop
Organic Traffic:
- Leverage social media to share your products.
- Engage with your audience to build momentum naturally.
Paid Traffic:
- Once your shop is established, experiment with Etsy ads. Start with a small daily budget ($1–$3) and monitor performance.
Delivering Exceptional Customer Service
Once you start receiving orders:
- Provide outstanding customer service to encourage repeat buyers.
- Regularly review stats (monthly) to gather insights and improve.
Conclusion
Launching an Etsy shop is an exciting opportunity to turn your creativity into a business. If you’re serious about starting with the right strategies, we’d love to help! Send an email to us at info@ecomclips.com