In this article, we will discuss how to add channel-specific images in SellerCloud both manually from SellerCloud dashboard and using CSV file in bulk
SellerCloud is seamlessly integrated with all of the leading marketplaces that enables eCommerce sellers to sell everywhere. Images play an important role in any catalog. SellerCloud also hosts the images of selling products to send those images while publishing the catalog as needed. SellerCloud channel-specific images feature allows to use different images for different market places. Amazon requires white or no background images but if you want to add images with background or lifestyle images for other market places you can do that using this feature. Using this feature, it is possible to send different images to Amazon, Sears, Walmart, Website, and Magento.
Note: To enable channel-specific product images, you need to load product images on the SellerCloud. If images are not already uploaded on SellerCloud, read the following article.
To specify images for different channels, you must enable channel specific product images in the client setting. Go to the Settings on SellerCloud and click on Client Settings.

On the Client Settings page, check the box beside the Enable Channel Specific Product Images.

Click on the Save button at the bottom of the Client Settings page.

Go to the Inventory page on SellerCloud and search with the Parent SKU for which you want to send different images in different channels. The specific item will appear, click on the SKU or Product Name.

You will be taken to the Product Summary page. You will find an Image Manager box there, click on View All.
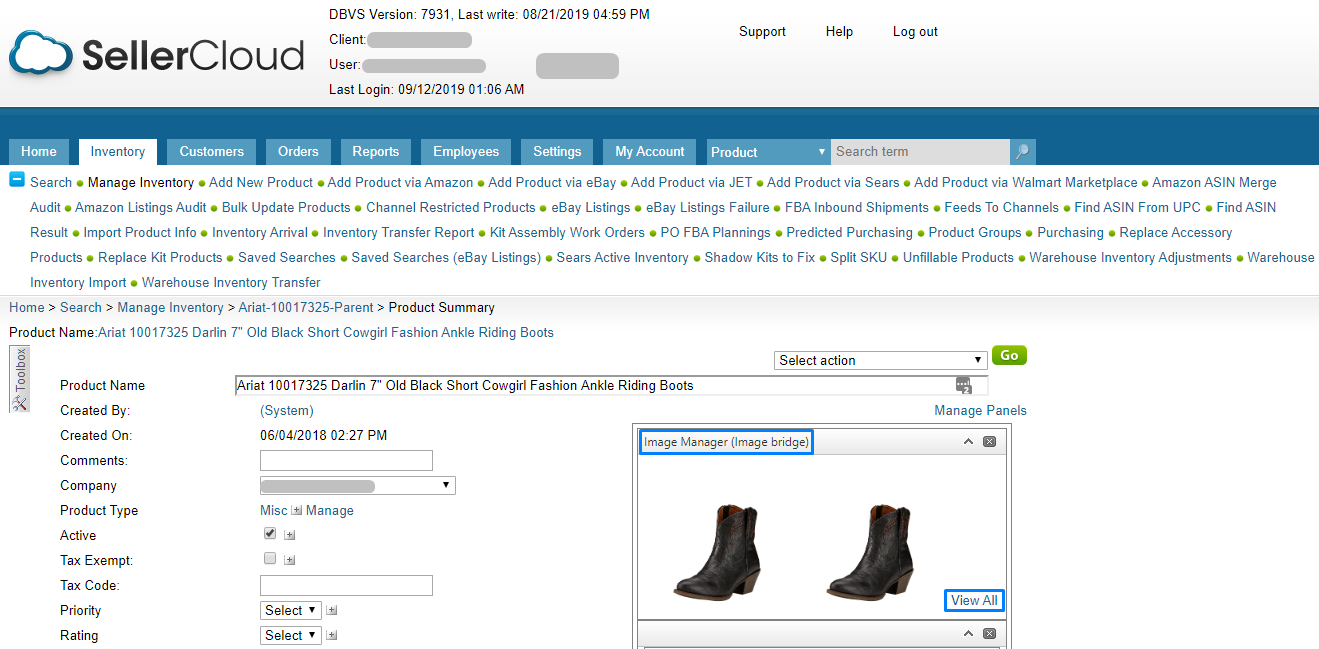
Here are all of the images that are already uploaded on SellerCloud.
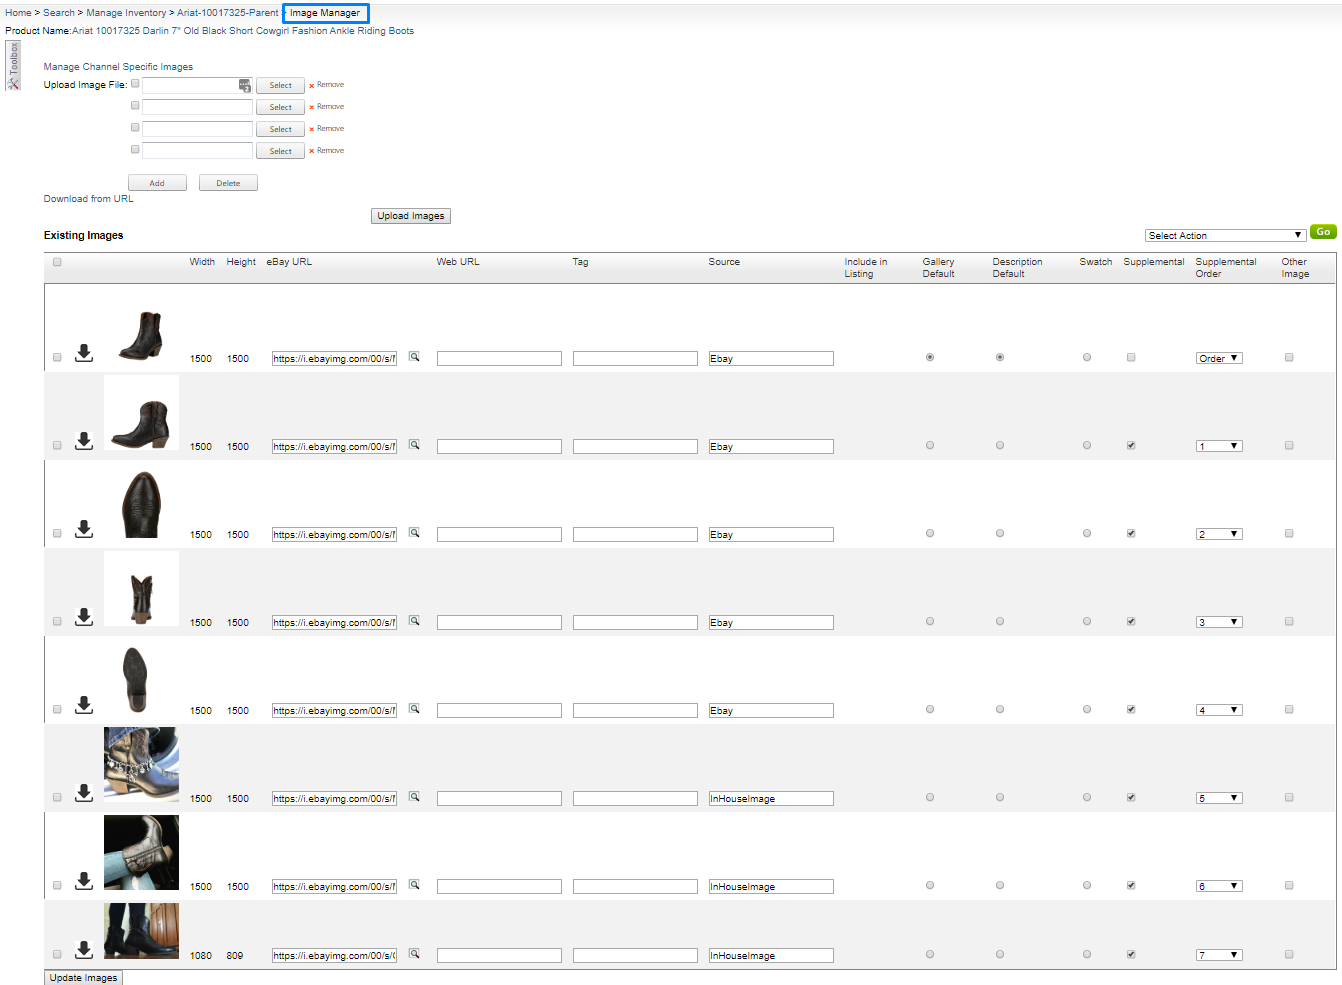
These images are live on eBay catalog in the above order.

If you want to specify these images in different order on your website. Click on Manage Channel Specific Images on Image Manager page on SellerCloud.

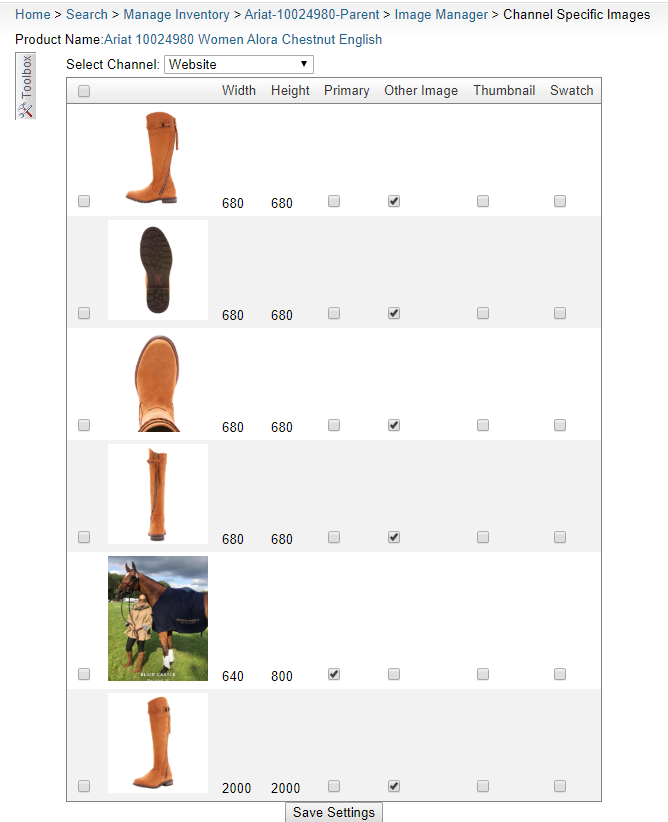
On Channel Specific Images page select Website.

Here all of the images have appeared with their sizes. Check the box beside the image, which you want to set as the primary image for your website and check other images as other image. Click on Save Settings.

Go to the Inventory page on SellerCloud again and click on the rectangle inscribed Website Enabled option.

You will be taken to the Website Properties page, select Update images on Shopify from the select action menu and click on Go.

A notification will appear showing the images updated on Shopify. Now you will find the lifestyle primary image at first on the website catalog.

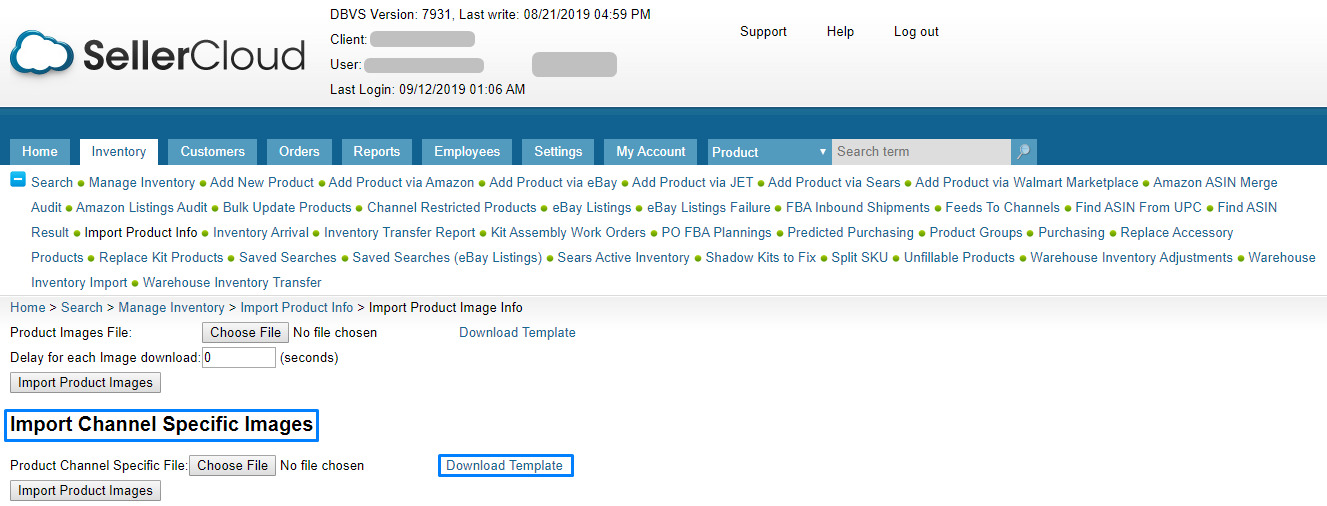
To upload specific channel images in bulk go to Inventory, click on Import Product Info and then Import Product Images Info.

Download the Import Channel Specific Images template.
Populate ProductID, Image ID, Channel, IsPrimary, IsAlternate columns. ProductID is the item SKU, Image ID is the image URL, in Channel column fill the column with the specific channel. IsPrimary sets the image as a primary image. This image will be used for the description. The value will be True to set or False to change the status primary to alternate. IsAlternate sets image as an alternate image this will also take True and False value to set or update the alternate status.

Import the file on Import Product Image Info page.

A message will appear showing Channel specific images detail saved successfully. It is now on the Amazon channel on Channel Specific Images page.

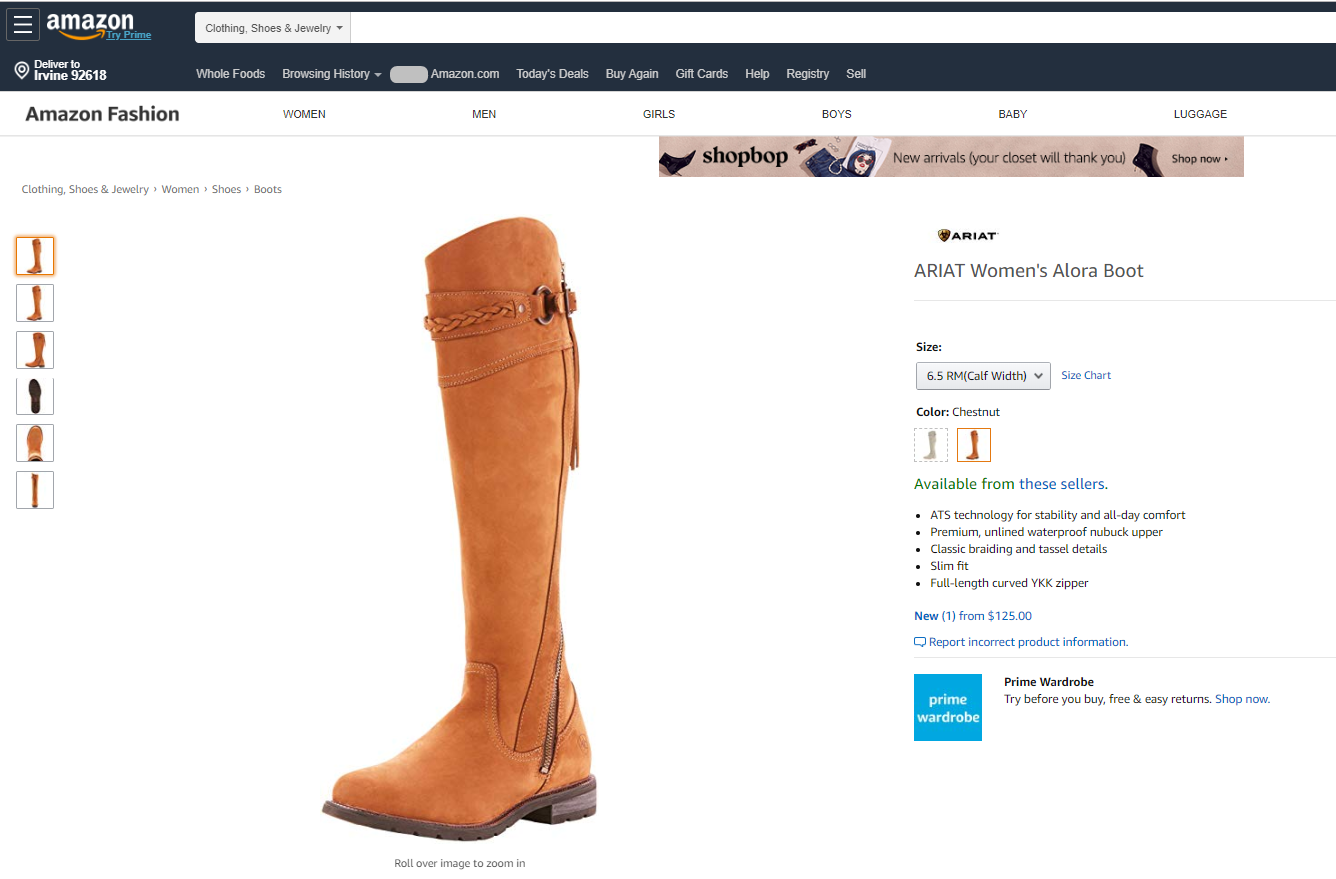
On the Amazon catalog, the images are also appearing.
The images have also taken the settings set in the template for the Website also.
Need to update images on Shopify from Website Properties page as we have done before. On Website, the images are showing properly.

Hopefully, this article was helpful for you. If you have any questions regarding this article or you face any problem adding channel-specific images in SellerCloud please feel free to contact us. We would be glad to help you out. We will come back with another blog very soon. Please keep reading our blogs.