How to import more than one image on Shopify CSV feed file template for Bulk upload
These days thousands of sellers upload thousands of inventory feeds each day for hassle-free product management. As Shopify is one of the best eCommerce platform for online stores, every seller needs to know the procedure to complete their feed file, that is an excel sheet containing multiple columns for describing and listing our products, and also definitions for each column. For multichannel success, you have to be active on various marketing channels to get found and increase your sales. If you can establish a multichannel marketing data feed system which can be customized to fit different customer groups then success will be inevitable.
While completing a data feed for Shopify bulk product upload, many may face a typical problem regarding ‘image source‘ column. Because, in Shopify .csv file there aren’t multiple columns for product images (like image 1, image 2) as Amazon or other market-places feed files have. Shopify feed file has only one column for a single item that is known as ‘Image-Src‘. So, if our products have more than one image, where to put it in? Can we import multiple images on Shopify through this .csv file or not?
The answer is yes. You can simply add as many images as you wish by Shopify .csv feed file. This article will attempt to show you how you can use multiple images on Shopify .csv file for bulk import.
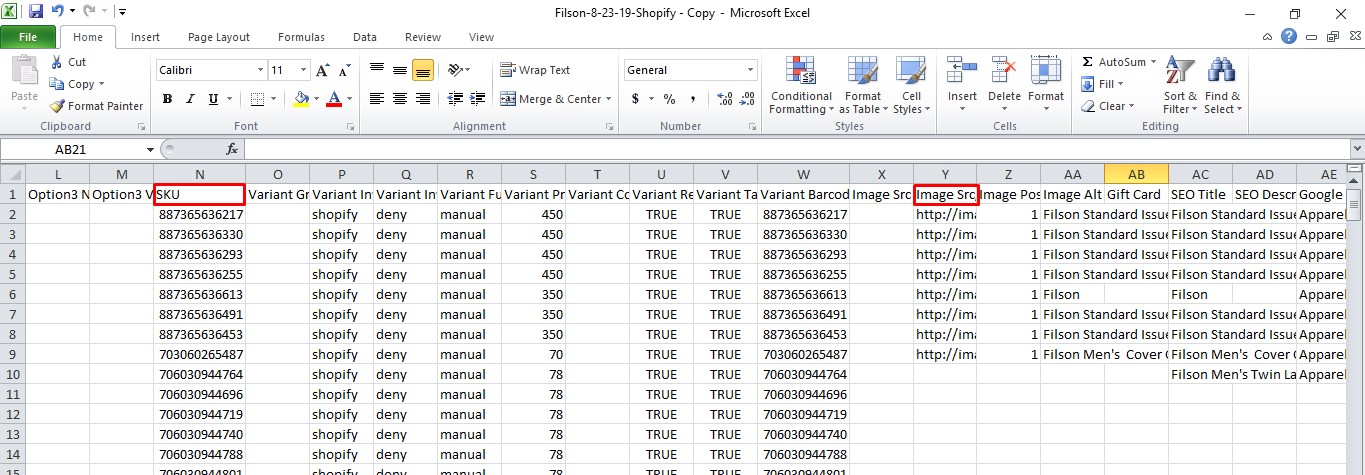
Suppose I need to insert another image for SKU 887365636217 in the image source column (1st row in the image above). How to do that? Here is the simple procedure to do that:
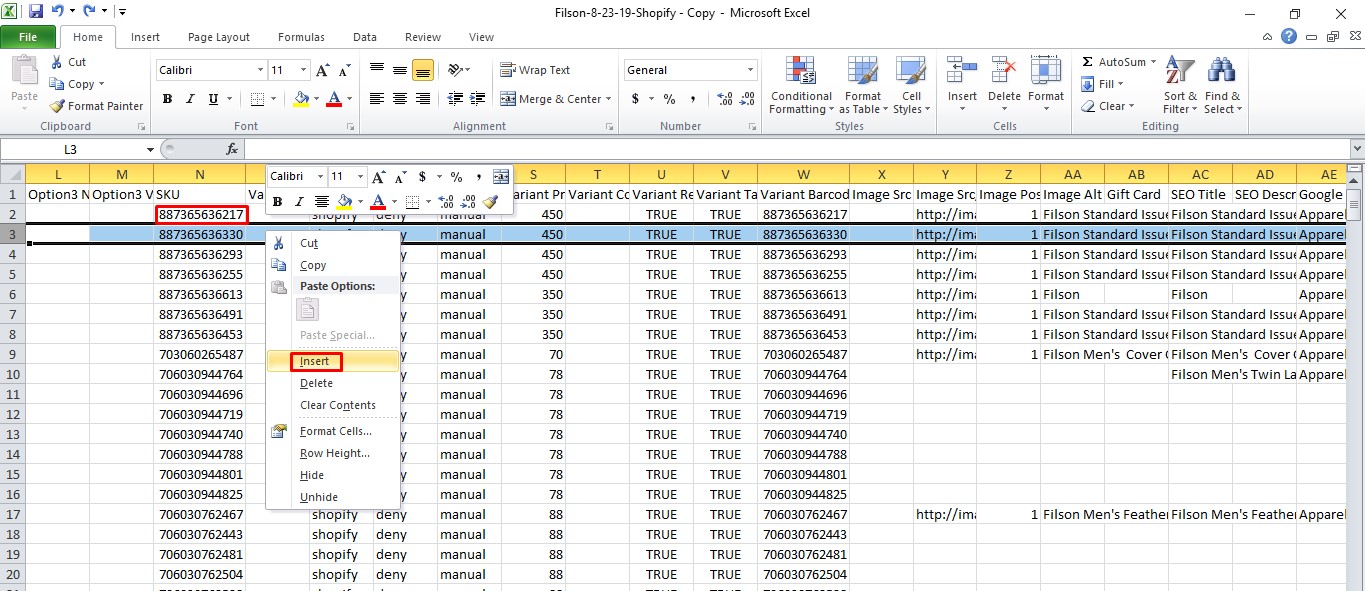
STEP 1: Insert a new row in your sheet under the row that represents your desired product (In the image, the row of SKU 887365636217)
STEP 2: Add another image url of your product you want to upload in the new row at ‘Image-Src‘ column.
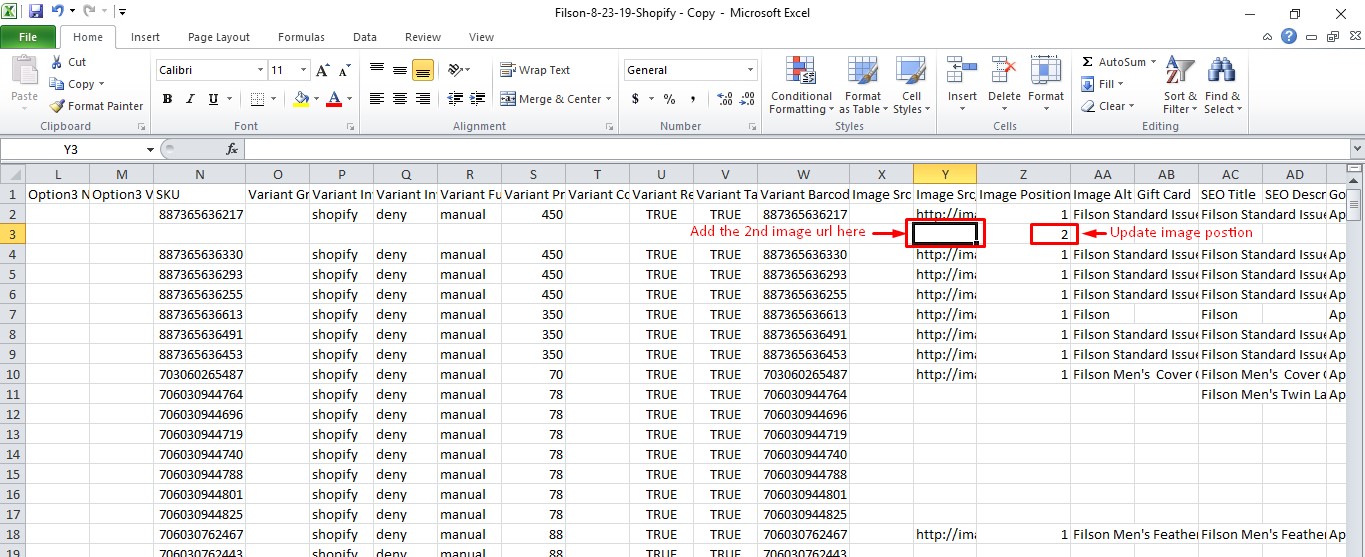
STEP 3: You must enter the ‘image position‘ column right next to the ‘Image-Src‘ column. As I entered my second image url, I put the number ‘2‘ here. The column actually gives you the independence for suggesting the image order you want to see on the listing page.
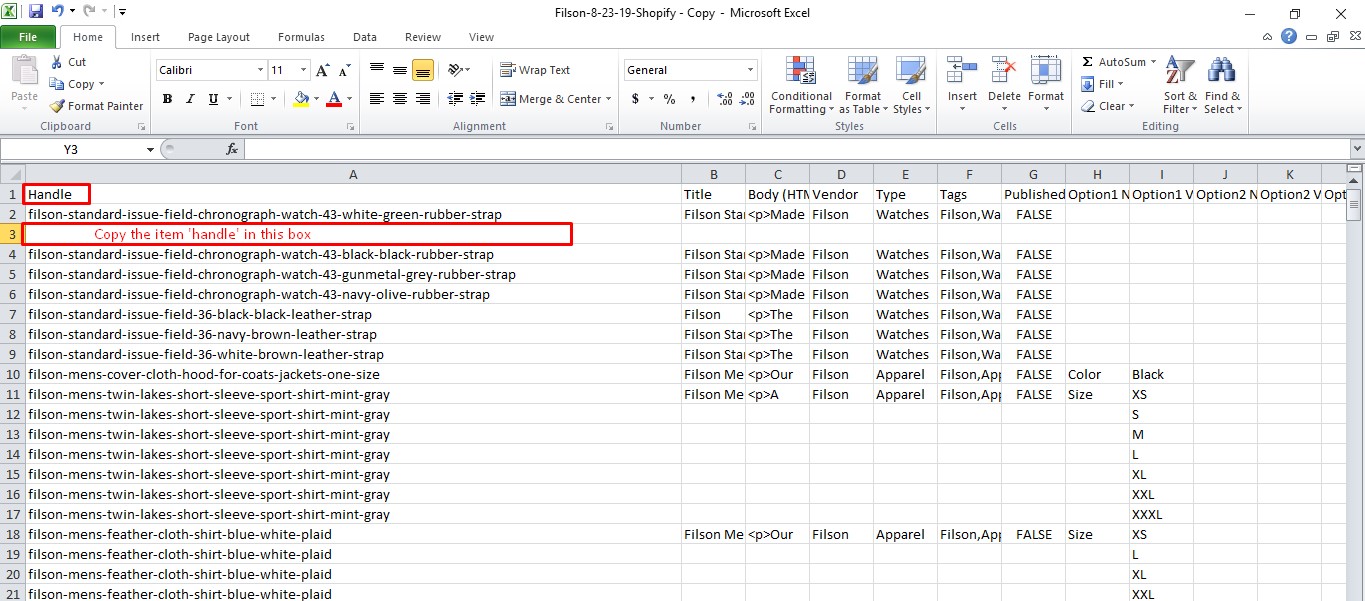
STEP 4: Last but not the least, you have to copy your unique product ‘Handle‘ to ‘handle‘ column in the new row.
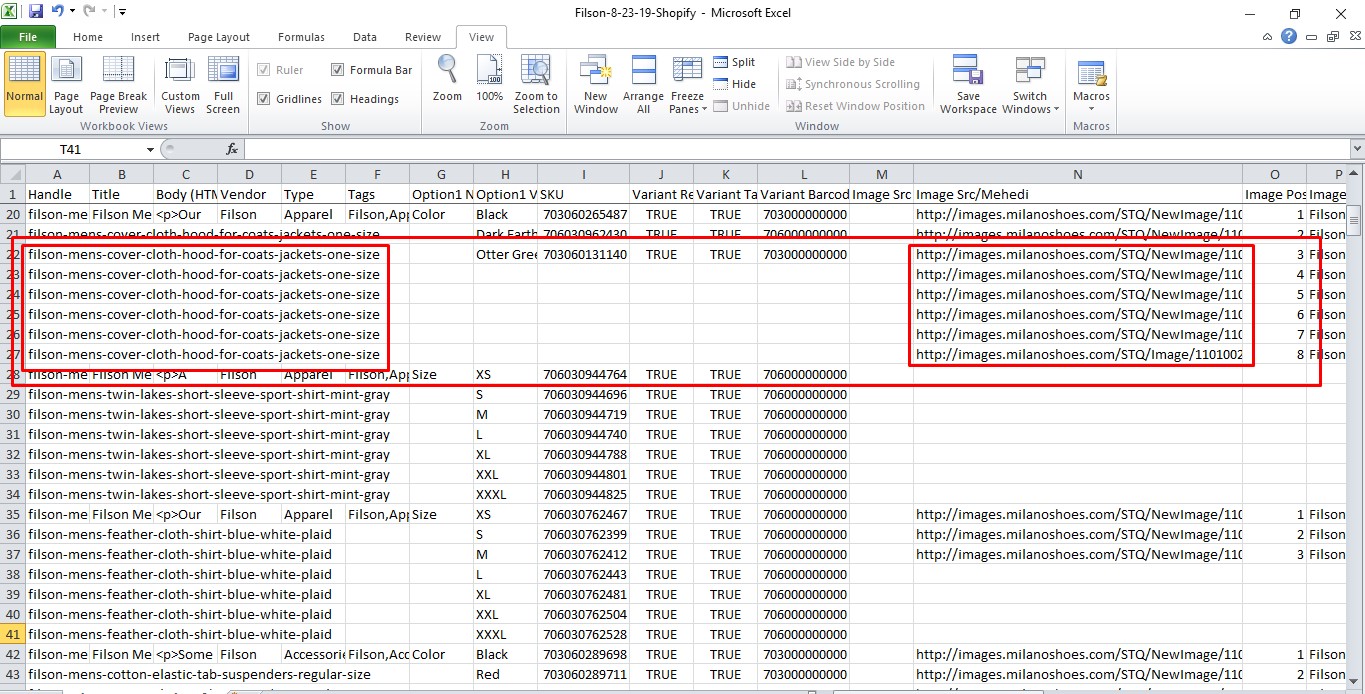
That’s it! You can add more image URLs following the same procedure described above. See the below screenshot example to see how I have added 5 more images positioning 4 to 8 for my another variation product.
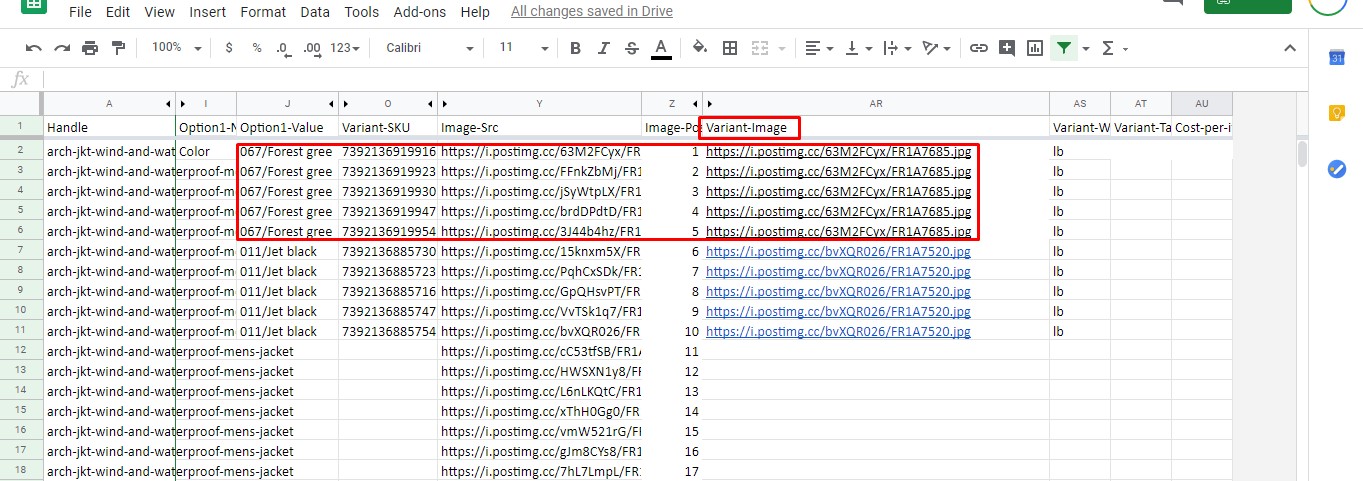
Note that, for the products which have variation items, it’s not enough to follow only these steps described above, but to fill the variant image column also. See the below image for example.
Thanks for reading the content. Hope it will help you fill up your next Shopify feed file and assist you completing a hassle-free bulk upload. If you have any questions regarding this article, please feel free to contact us. We would be glad to help you out by giving you answers to your queries.


Hi There, thanks for this info. I keep on trying to do it though and it doesn’t work… i get an error saying that SRC cannot be blank, when I have a perfectly valid url…
I would higly appreciate your help on understanding the issue… I’ve followed every step you say above…
Thanks a lot,
Santi