Throughout this article, we will focus on explaining the easiest way of updating the reserve level on ecomdash for different channels. By following our process, you can update the reserve level on ecomdash by yourself within a short time frame that will give you relief from the enormous assignment.
Ecomdash enables eCommerce sellers to run their entire business from anywhere at any time in a fraction of the time they spend today. Ecomdash is a web-based tool that automatically syncs operational processing across sales channels.
With ecomdash, users can automatically sync inventory levels across all channels and customize their inventory rules for each channel. The platform sends and receives data from online sales channels, suppliers, and fulfillment centers, giving users increased visibility over their retail operations. Many online businesses face the tragic situations of overselling when customers place demands but hear the order has been cancelled. This undesirable situation makes customers furious. They will not return to the seller anymore. This is never welcomed by any business. To meet this situation, they carry extra stock. It also helps to mitigate the risk of running out.
Ecomdash facilitates you to carry safety stock or reserve level. Reserve level is your buffer between the amount of inventory you have and the amount you are sending to the channel to prevent overselling or to maintain selling if your supply line stops. It’s a very easy process. We have to follow the below steps one by one to update the reserve level on ecomdash for different channels.
Also, we have a different article where we describe how to set reserve level on ecomdash fore all channels together, you can check this also – https://boostontime.com/blog/set-reserve-level-as-safety-quantity-on-ecomdash/
Step 1: At first, we have to log in to Ecomdash and then go to Product to All Products.
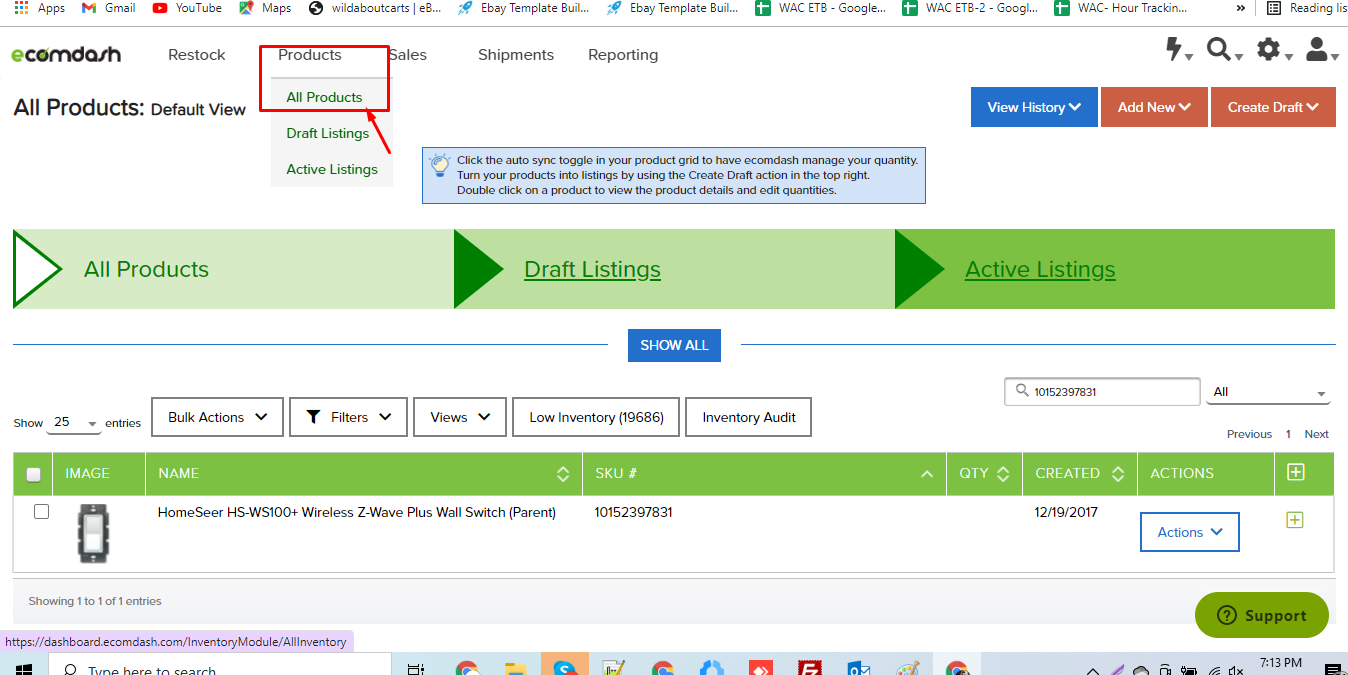
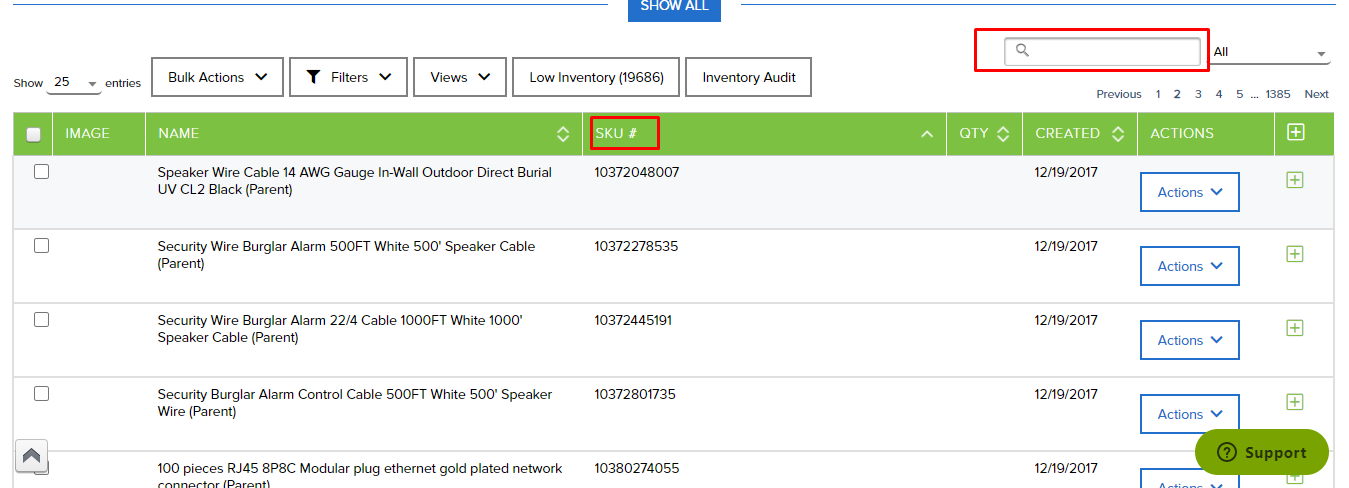
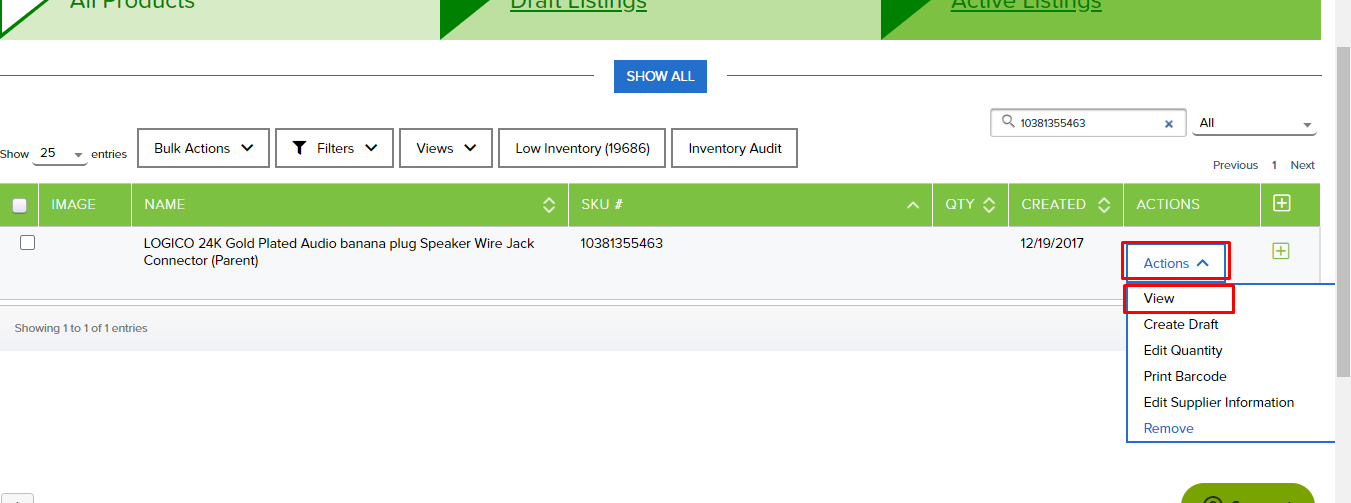
Step 2: After clicking All Products the below page will come up. Here we have to search a SKU in the search bar.
Step 3: When the details page will appear then we have to go to Action to View the item.
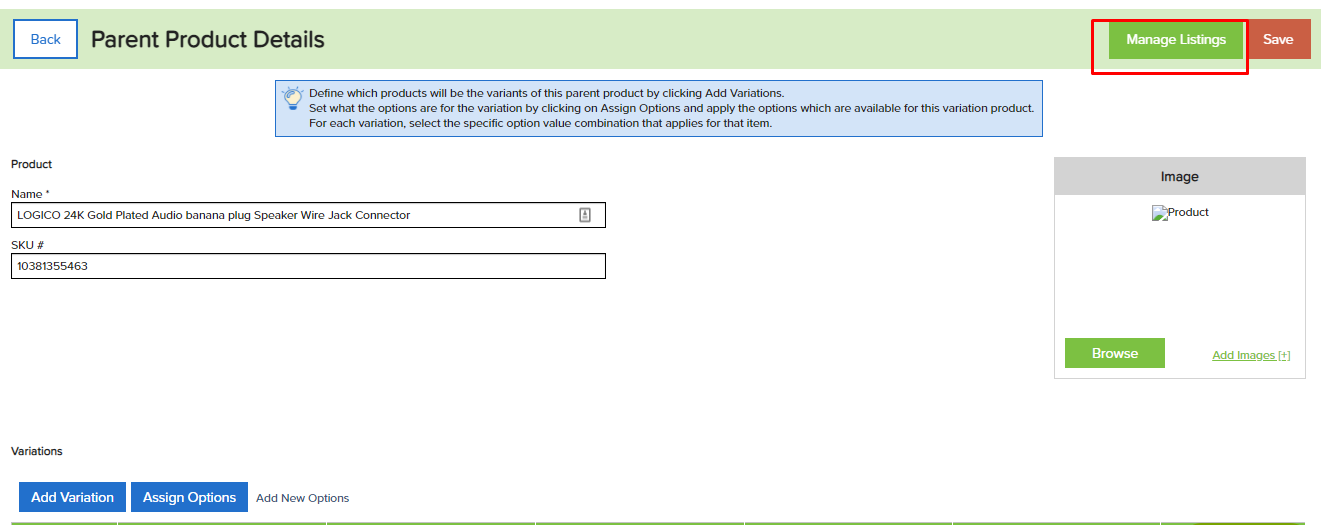
After that, we have to click on Manage listings.
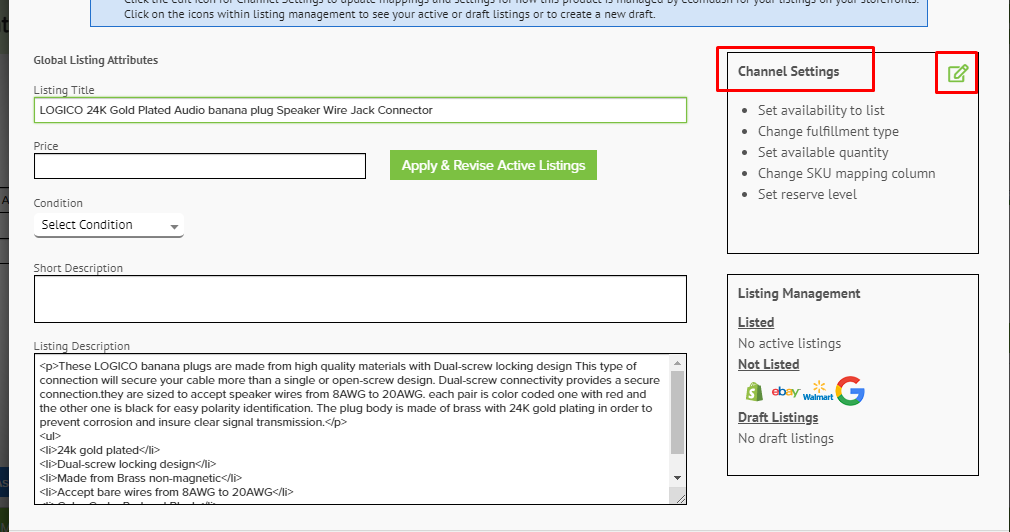
Step 4: After clicking Manage listings then listing page will come up and then we have to click the Channels Settings edit bar (beside the channel settings) to continue the process.
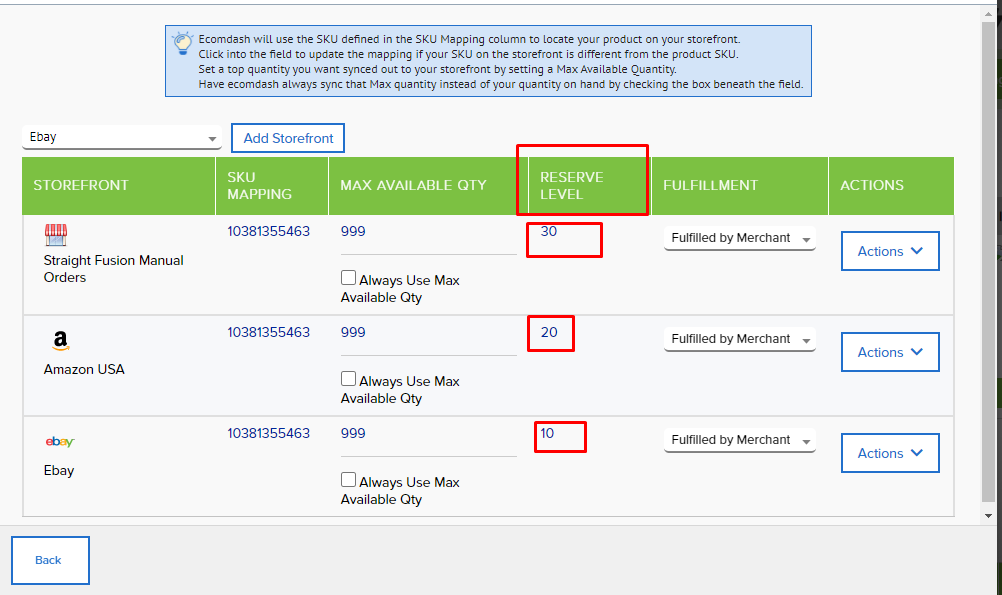
Step 5: Now the final Reserve Level page will come, here we can set Reserve Level as we want and it will auto-update all the marketplaces. Go to the Reserve Level column and set the reserve quantity.
That’s all in this process. Hope this article will help you to update the reserve level on ecomdash for different channels. If you have any further queries, please let us know by commenting in the below section.