
Need to Inactive Product on Sellercloud so that it will not upload in Channel also will not available on Manage Inventory Page? Read the whole article, we will discuss the full procedure of Inactivation of Listing on Sellecloud.
Sell on more leading marketplaces to boost sales and SellerCloud is dedicated to simplify your multichannel ecommerce business operation. Welcome back to our site, we are here to assist you regarding SellerCloud techniques in details. Today we are showing to set products as inactive in SellerCloud.
Normally a product status remains Active by default when created. It is possible to change the status to Inactive if you want. If you want to keep some items not to sell right now, you can keep them Inactive too. The Inactivation status of a product is an internal SellerCloud status, that is mostly used to hide products from the Manage Inventory page and other product searches. It becomes hidden because default search filters are set to only return Active products. By filtering to allow Inactive products, they appear in the grid in a grayed-out row.
Note:
The Inactive status will affect product feeds to channels. An Inactive product will send zero inventory to any channel, but it will also keep the listings active.
Inactive SKUs can not be added to orders.
In 3 ways you can set Items’ status as Inactive.
First Way to make listing inactive on Sellercloud:
Search the item on the SellerCloud. Manage Inventory Page which you want to deactivate. Click on the SKU or Product Name to go to item’s Home page.

You will see that the item is already active when you go to the Home Page. There is a check mark beside the Active status.

To deactivate the item just click on the box, the check mark will disappear.

Click on the Save Product button at the bottom of the page.

Go to the Manage Inventory Page and Filter with Inactive Status.

You will find your item there.

If you filter with all, you will be able to see that the inactive item is appearing in the grid in a grayed-out row.

Second Way to make listing inactive on Sellercloud:
In this way you can set one or more items inactive at a time. Go to the Manage Inventory Page. Search the items you want to deactivate.

Select set as Inactive from the Action Menu and click on Go.

Your items will be inactive as soon as the job completes. To activate items select Set As Active from the Action menu.
Third Way to make listing inactive on Sellercloud:
In this way products can be deactivated in Bulk-update with a file using the column header Status, with values Active or Disabled. You can also download the template, selecting custom export from the action menu.
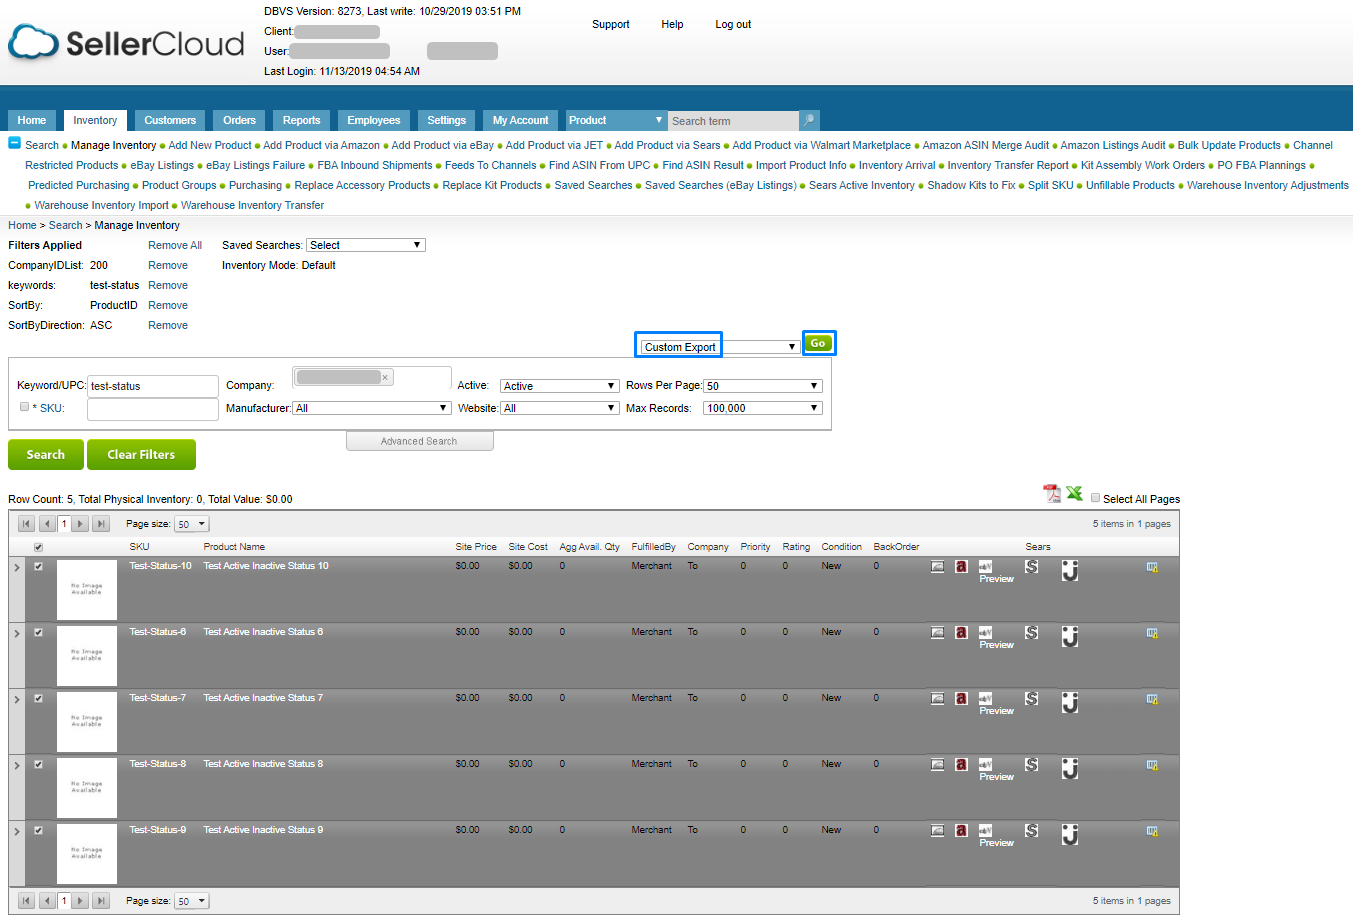
Select Status from the left side, it will appear on the right side. Click on Continue.

You will find in the downloaded file; the Status is viewing Active.

Replace them with Disabled.

Go to Inventory, click on Bulk Update Products. Check the box beside Create product if none exists. Choose the excel feed and click on the Submit button.

You will find your items among the Inactive items.

We tried to explain all the ways to make the product listing inactive on sellerCloud but still If you get stuck anywhere, please comment here. Stay in touch with us, we are coming back soon with most updated new techniques.