In this busy schedule, it is very difficult to grow a business in one hand. For this reason, most sellers are trying to find some Third-party application to handle these things and expand their sales channels easily. Nowadays a new third party application has become more popular due to its features and price as it is very reasonable for those Sellers who have recently launched their business. Here the name of this new application is “Sellbrite”. Sellbrite is the easiest way for brands & retailers to manage inventory, price, set custom rules, manage shipping labels and orders.
Create Shipping Label via Sellbrite
Creating the shipping label and printing it one by one from different marketplaces like Walmart, eBay, Amazon, Etsy. is not a smart solution. Here comes the Sellbrite application; Sellbrite can help you to manage and print shipping labels all major marketplaces effortlessly. If you’re worried about creating a shipping label for different marketplaces like Amazon, eBay, Shopify, etc; don’t worry; you can create your own shipping label in the easiest way through Sellbrite.
In our last post, we already discussed the basic introduction of Sellbrite and also showed you how to manage inventory and set custom rules autometically. In this post, we are going to show you how we can create a shipping label for any marketplace in a second.
Step 1: Provide Your Package Information
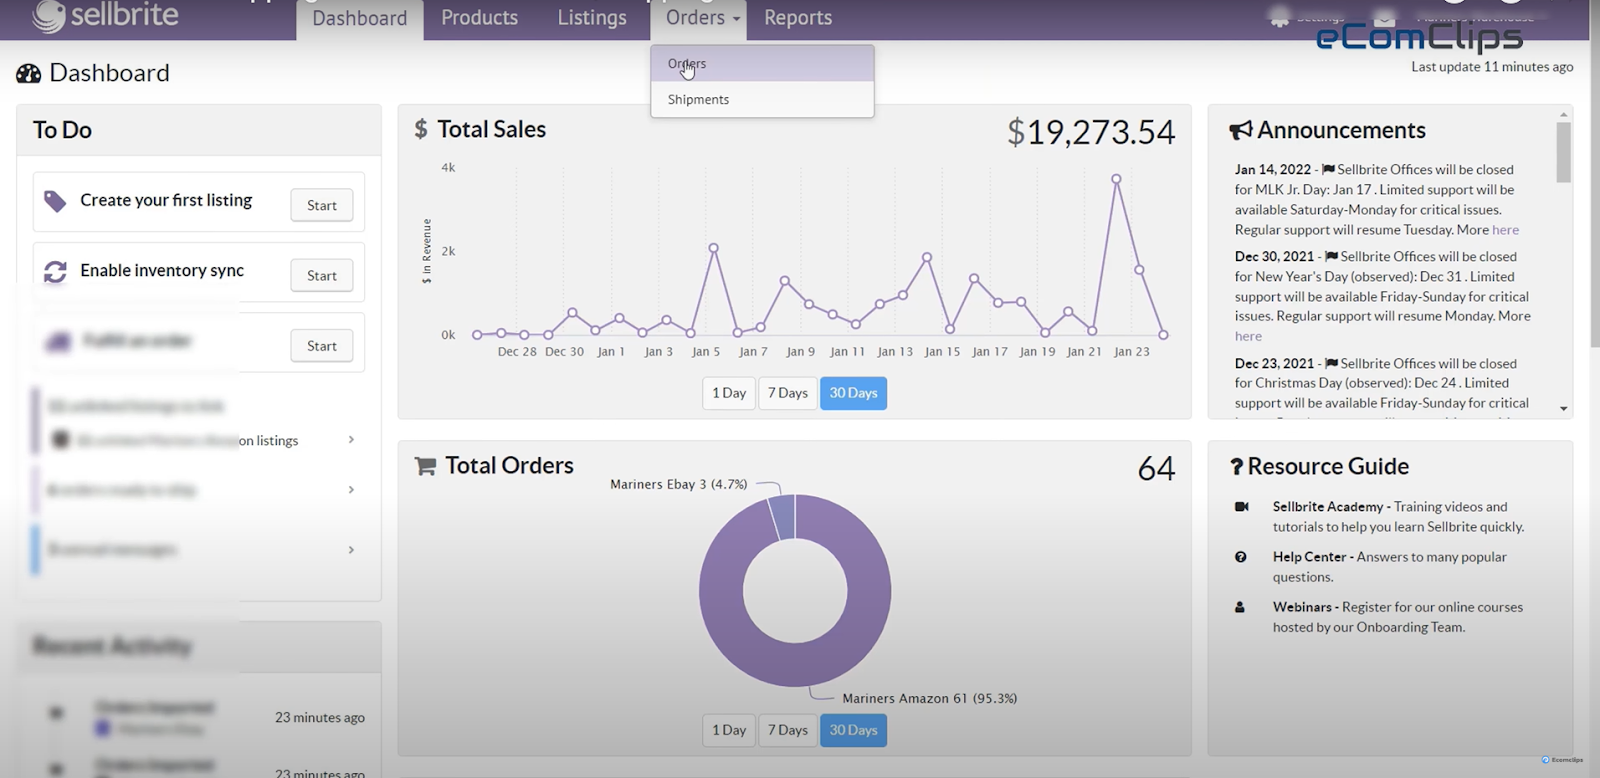
First, click on the order tab section and open a recent order id to proceed to the next step. After selecting the “Create Shipping Label” button then you will find the “Package Information”. In this package information section, you can select predefined package type information from the dropdown because it will appear if your product already has dimensions and weight on the product page. Or you can manually provide your own product dimension and packaging information. Also, you need to mention your preferable Shipping Date otherwise you will not be able to proceed to the next step.
Step 2: Provide Warehouse Information
Now it’s time to mention your company name, contact information, and warehouse location in this “Ship From” tab for further use, or this step will be automatically skipped if the information is already stored in your warehouse location.
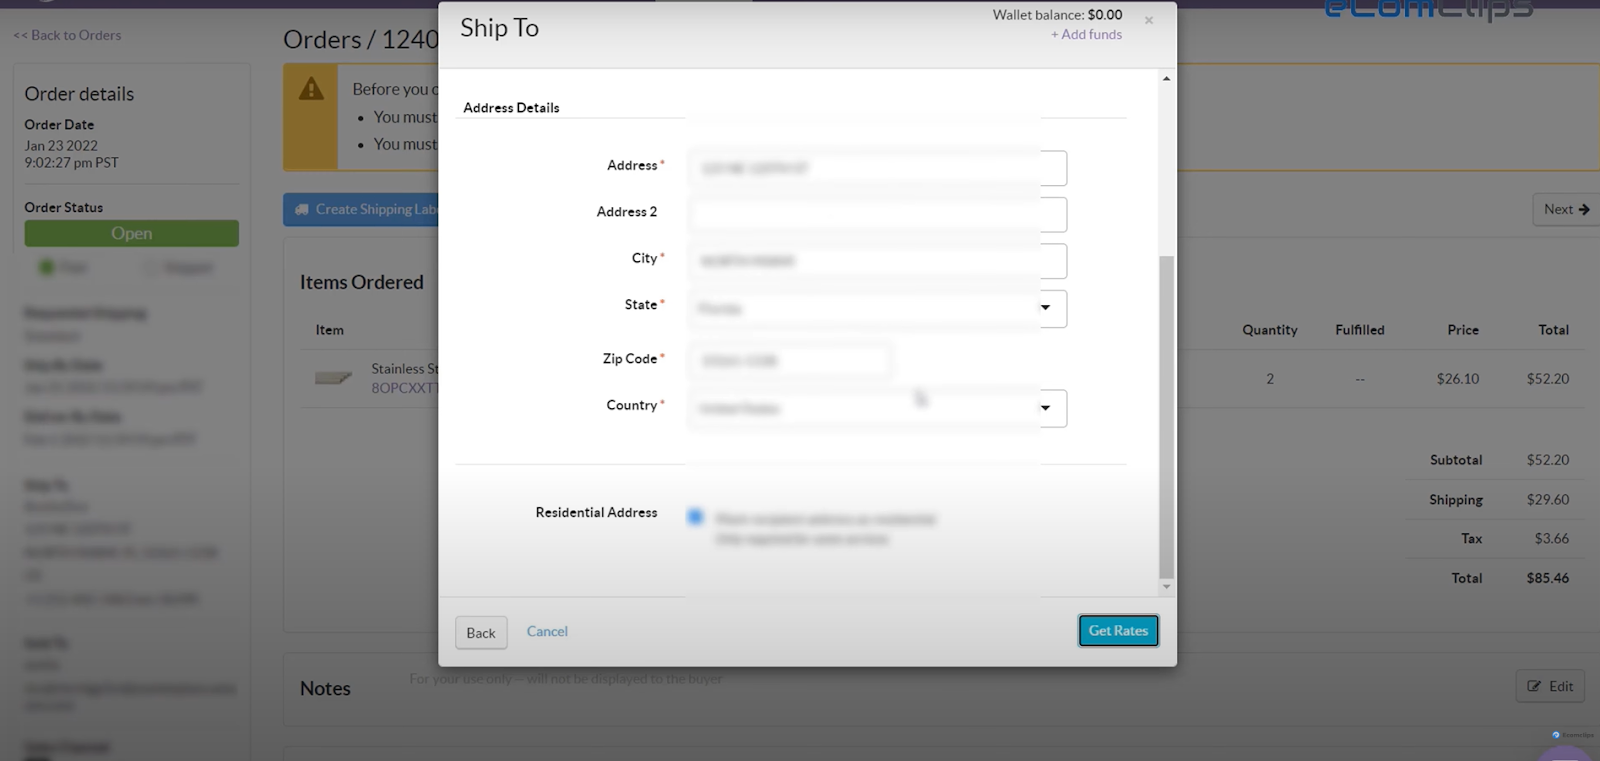
Step 3: Set “Ship To” Information
You need to confirm the “Ship To” information so that you can move forward to the “Get Rates” option. Please note that, if the Ship-to address does not have a company name, the residential address for you will be automatically selected.
Step 4: Select “Shipping Rate” & Choose Buy Label Button
In this step, you need to choose the label format from “Shipping Rate” that you want to print which will be remembered for next time. Then select the shipping label option which you want to purchase by clicking the Buy Label button.
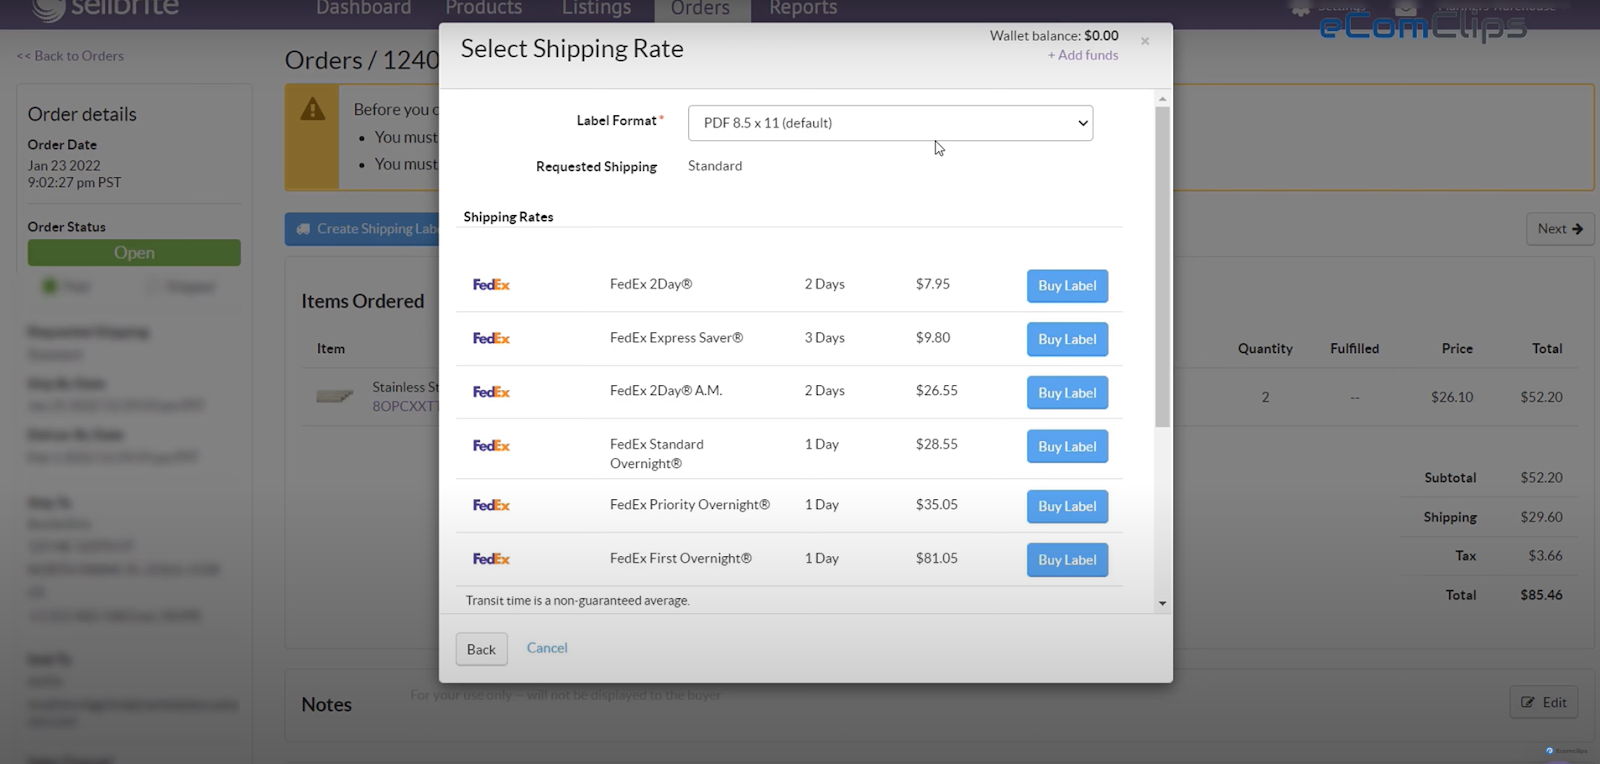
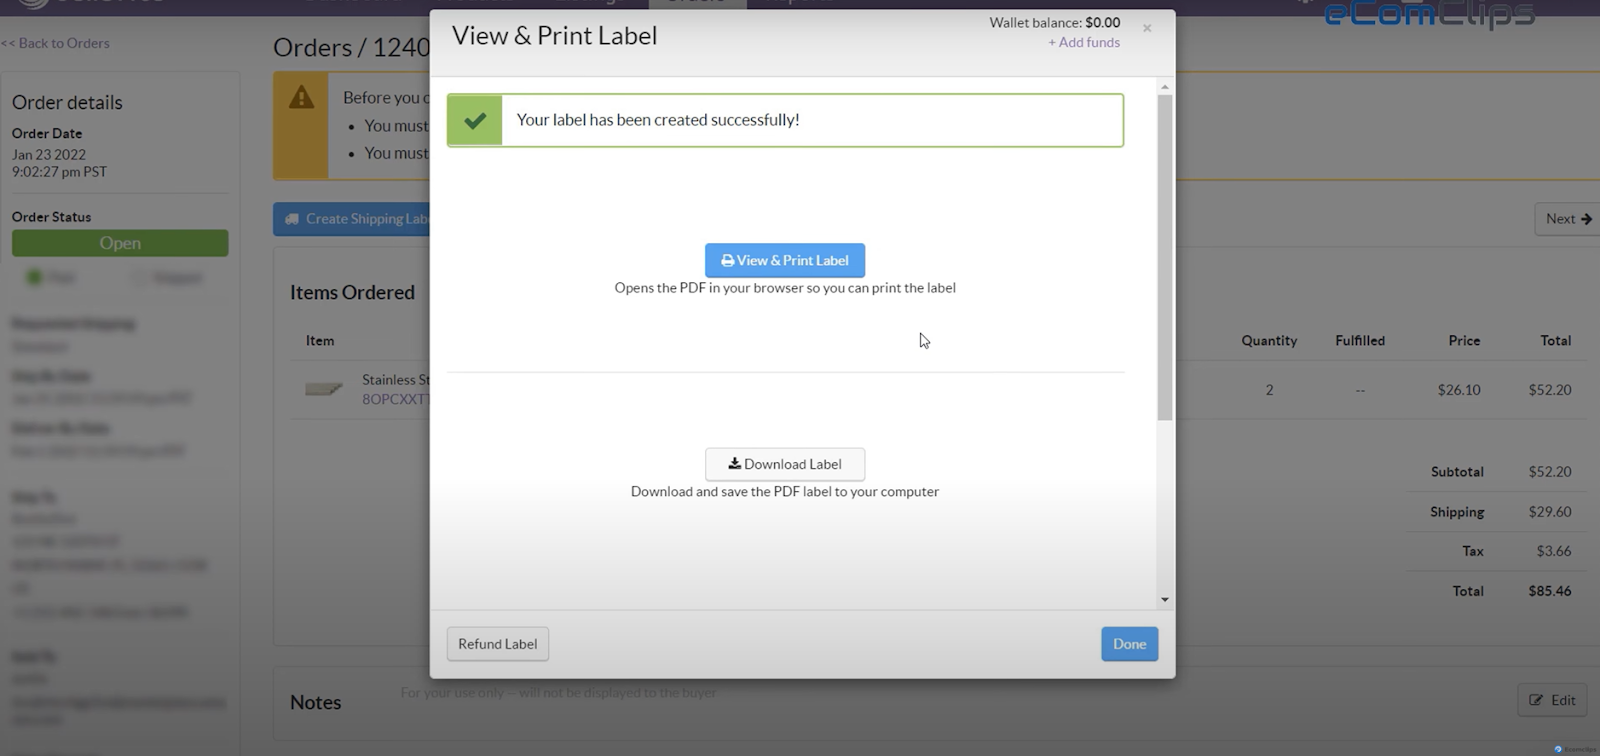
Please note that, if you want to change the size of your shipping label then you need to select the size you prefer from the “Label Format” drop-down menu. If the transaction is successful, your shipping label will now be available for viewing and printing, or downloading.
Step 5: View Shipping Label
Once your postage is purchased, you’ll see your shipment added to the order in the Shipments section. If you want to see your label again, you can click the View Shipping Label link. The order will move into the Shipping section of the Orders tab and then into Completed, once Sellbrite updates the originating channel of the order.
Conclusion
In the entire post, we have seen how we can create a shipping label for any marketplace in a second through Sellbrite. Hope this post has been helpful for you, if yes, please like, comment, and share this post with your friends. If you have anything more to know about Sellbrite, don’t hesitate to write down your questions in the comment section. You can check our website www.ecomclips.com. That’s all for today, in our next post, we will show you how to create listings in Sellbrite. Till then stay safe and stay with us. See you soon.