
In the ever-expanding digital marketplace, the key to successful e-commerce lies in reaching customers wherever they are. Shopify, a leading e-commerce platform, empowers businesses with the ability to extend their virtual presence through Sales Channels. In this blog, we will delve into the world of Shopify Sales Channels, exploring how they act as virtual bridges connecting your store to major online platforms. By the end, you’ll have a comprehensive understanding of the process and the potential it holds for your business.
Connecting to a World of Opportunities
Sales channels serve as gateways to a broader customer base, enhanced brand visibility, and more streamlined sales management. Imagine having your products featured on Google, Facebook, and Instagram – this is the power that Sales Channels unlock for your Shopify store.
For instance, take the Google Channel – integrating it allows your products to appear in Google Search results and Google Shopping. This exposure significantly increases the likelihood of potential customers discovering and purchasing your products. Additionally, with advertising and marketing capabilities, Google Channel becomes a valuable asset in your Shopify arsenal.
Adding Sales Channels
Now, let’s walk through the simple steps of adding a Sales Channel to your Shopify store. Begin by logging into your Shopify CMS.
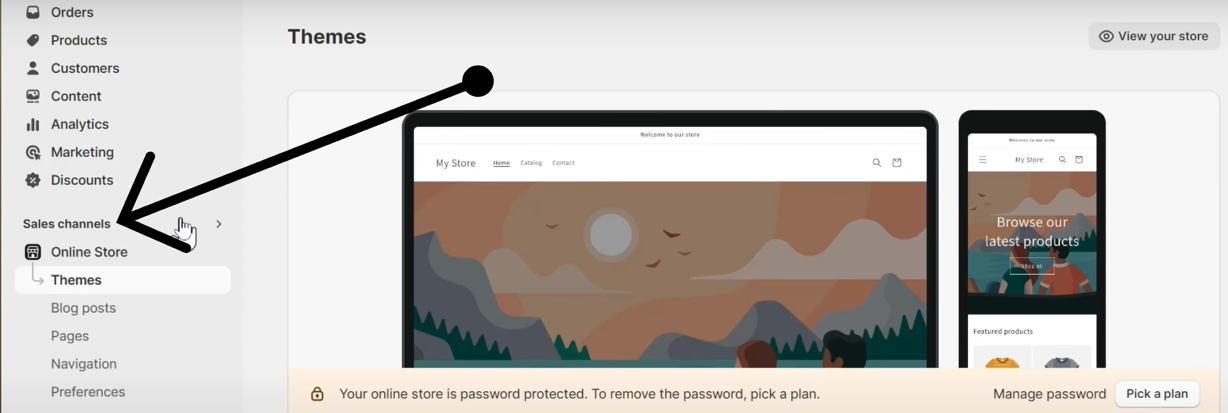
Navigate to Sales Channels
Click on “Sales Channels” on the left sidebar.
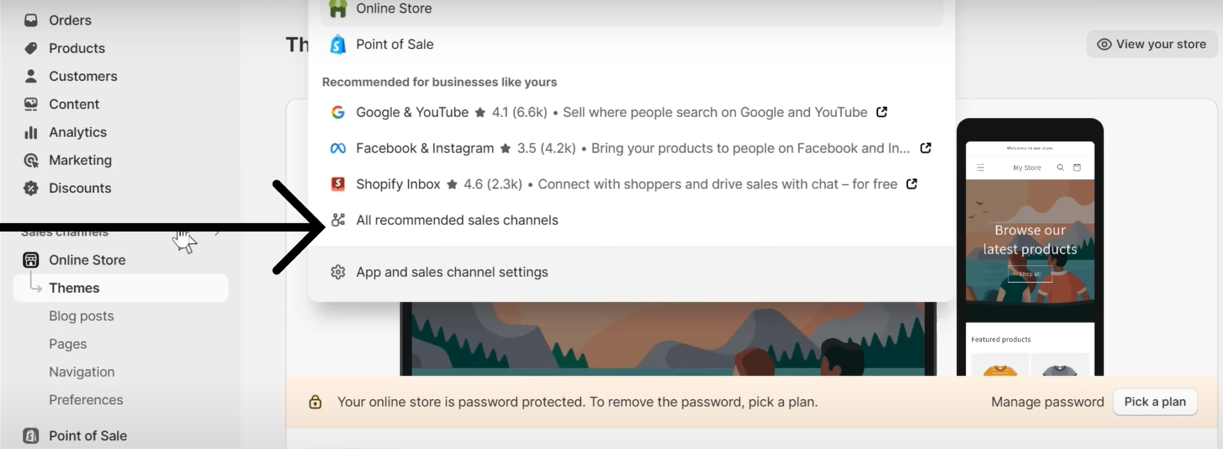
Explore Recommended Channels
Click on “All recommended sales channels” to view a list of available options.
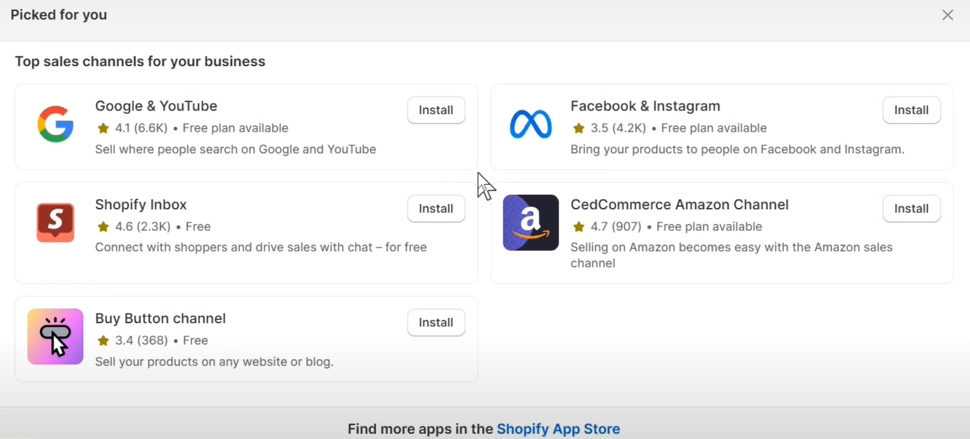
Select and Install Channels
Choose the channels you want to add; for instance, Google and YouTube. Click on them, read any relevant information, and proceed to install.
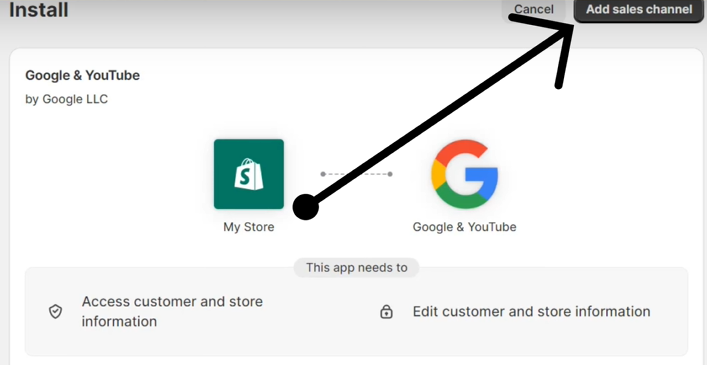
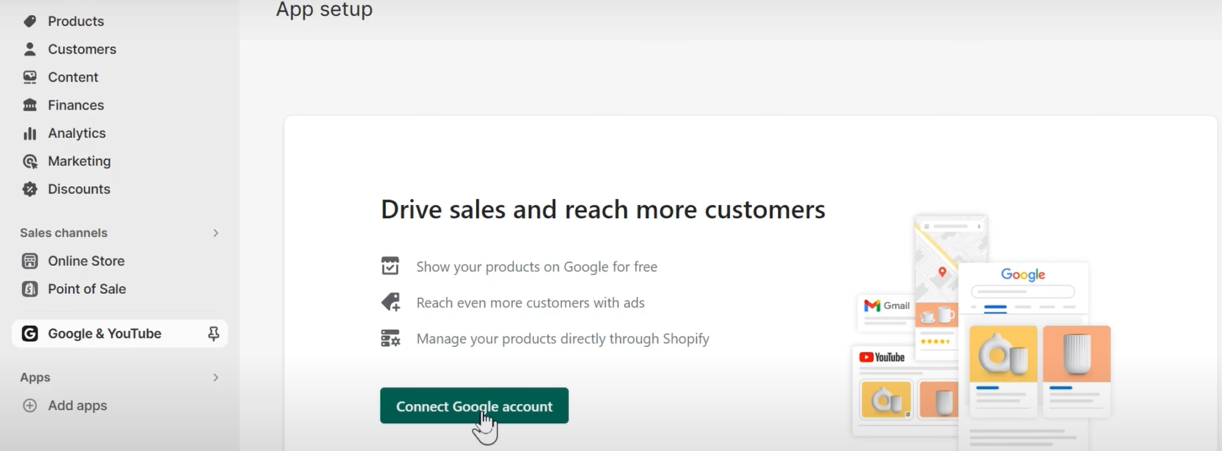
Connect Google Account
After installation, click on “Add Sales Channel.” Connect your Google account by clicking on “Connect Google account” and follow the prompts.
Allow Access
To ensure seamless integration, allow all necessary access permissions by clicking “Allow.”
Conclusion
Congratulations! You’ve successfully added powerful Sales Channels to your Shopify store, opening doors to a wider audience and increased sales potential. For more insightful content and updates, stay tuned.
If you think this post has been helpful for you, please share this post with your friends and the e-commerce community. You can also check out our website www.ecomclips.com and get more updates! Keep browsing our blog to get more articles related to e-commerce. You can also mail us at info@ecomclips.com if you need any more help with Shopify.